This article describes common problems you may encounter using the Caen qID Mini RFID device and helps you to resolve them.
The possible issues are
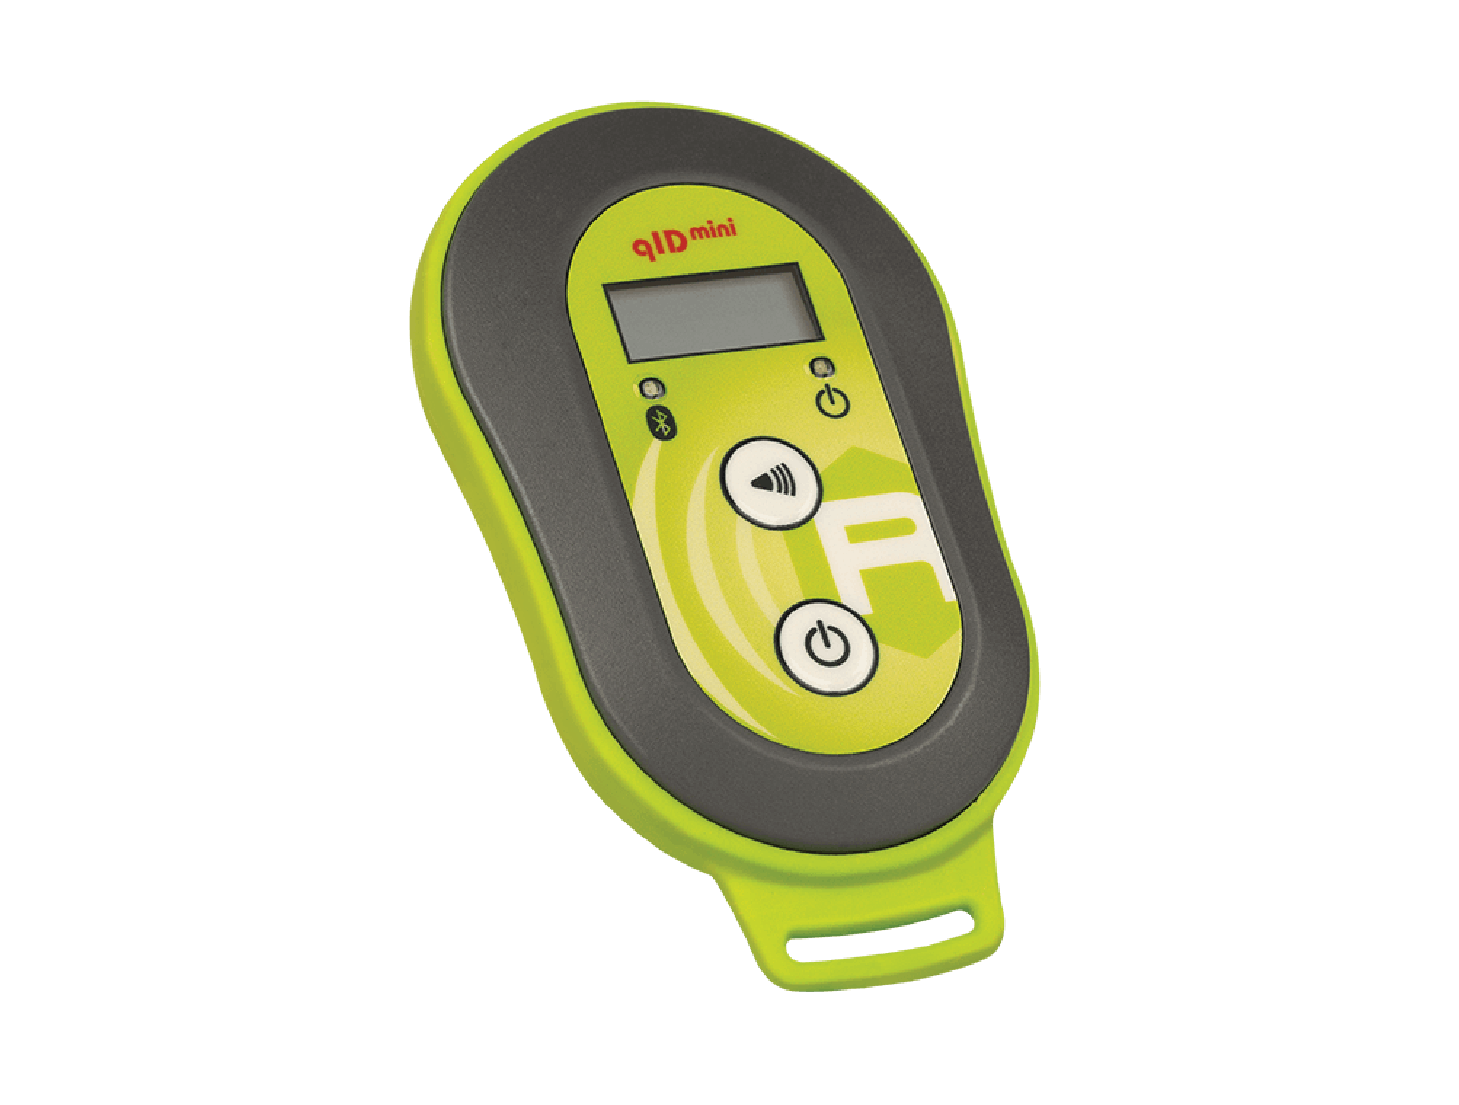
I. Switching ON the qID Mini Device:
1. Press the Power button continuously for 2 seconds only.
2. Then its LED lights up Green which means power is on.
II. Switching OFF the qID Mini Device
1. To switch off when the qID Mini reader is on, press the Power button continuously for 3 seconds only.
2. Then its GREEN LED light is off, which means qID Mini device is powered off.
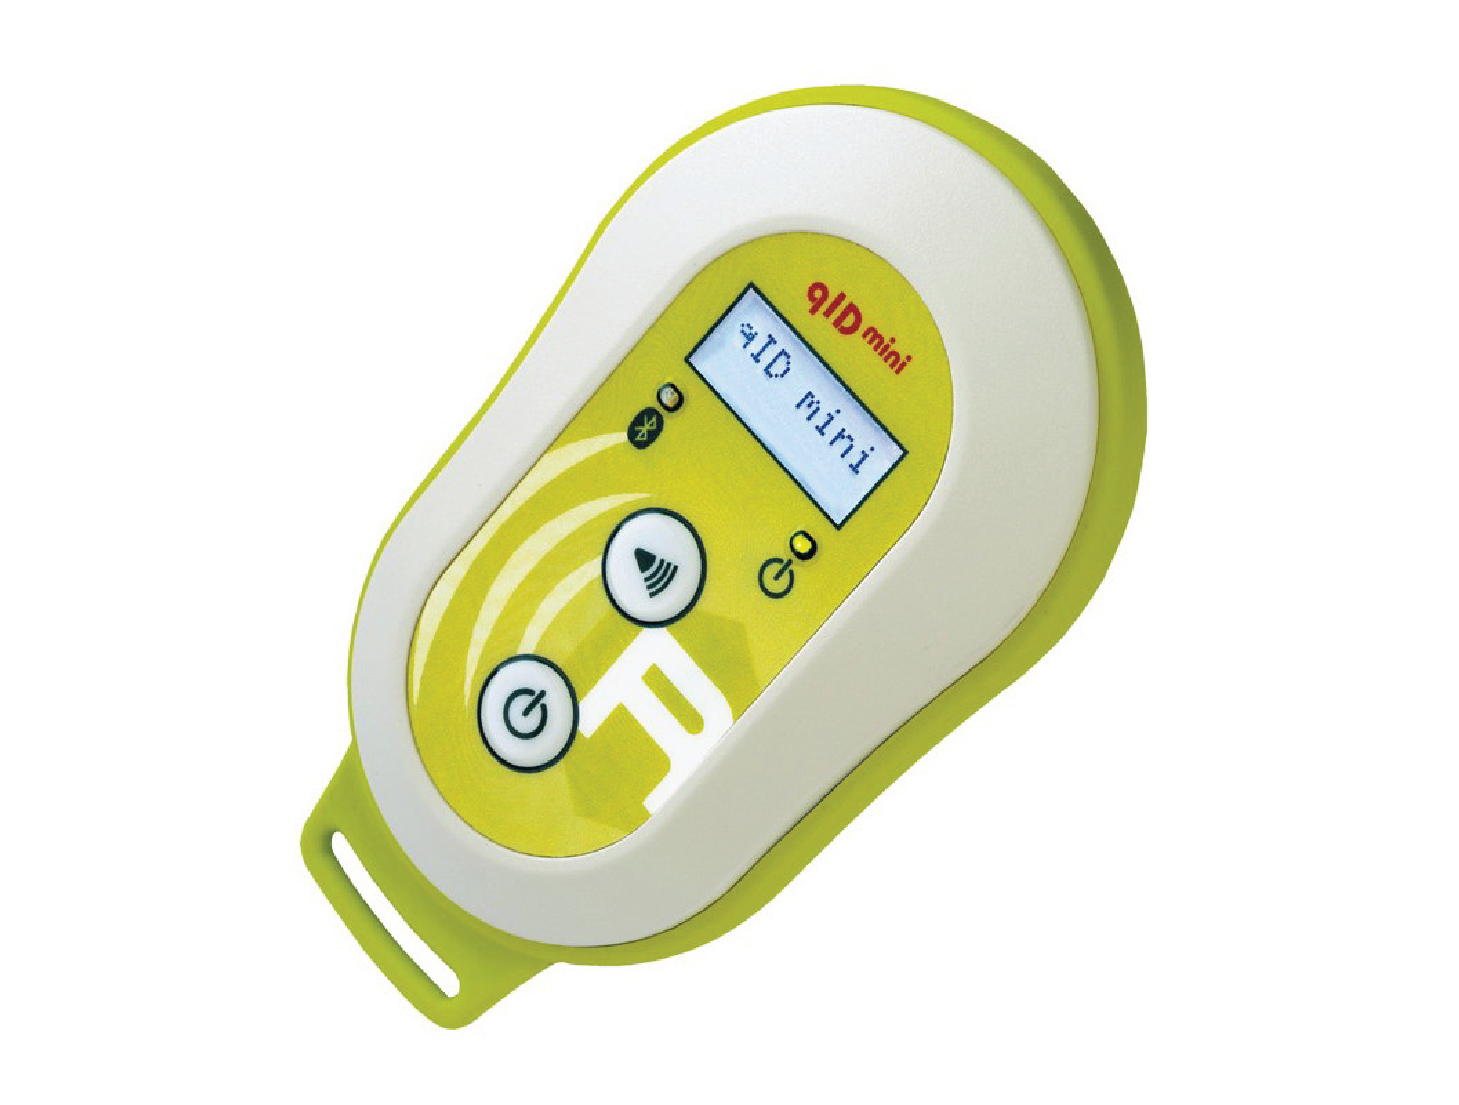
Immediately after when qID device is powered on,
Then the “Power LED” will turn:- either,
Green - if battery is more than 35%
or, Orange – if battery is more than 15 % & lesser than 35%
or, Red – if battery is lesser than 15%
The “Link LED” will be off; this acknowledges that the qID Mini device is not connected to any iOS/ Android device.
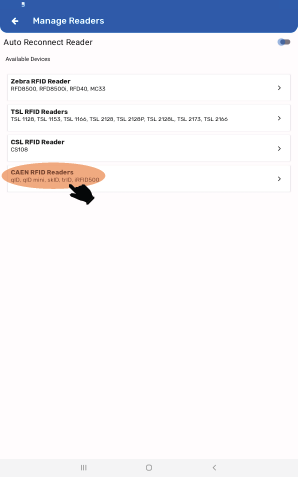
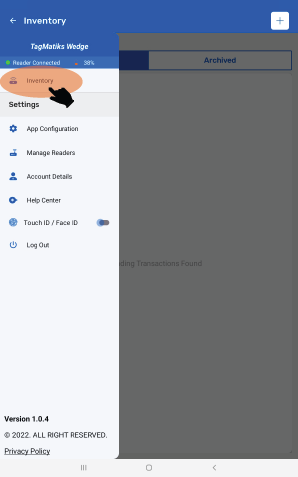
1. Open the TagMatiks Wedge application and tap on the upper left corner of the screen.
2. Select “Manage Readers” option to see the list of the readers.
3. Tap on ‘CAEN RFID Reader” to connect Caen qID MIni with the application.
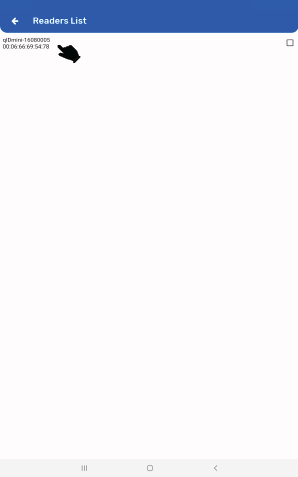
4. Tap on Readers List to continue
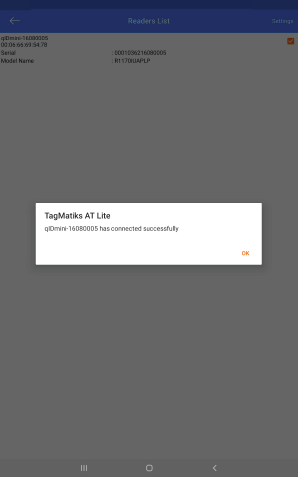
5. Tap on the “qIDmini-XXXXXXXX” to successfully make a connection between the TagMatiks Wedge application & Caen qID Mini Reader.
Note: 00:06:66:7F:17:53 is the MAC Address of the qID mini device.
6. An acknowledgment will appear stating that the “qIDmini-XXXXXXXX has connected successfully”.
If qID Mini device is “ON” but couldn’t connect to the Android device. Then there is a possibility that the qID Mini device is already paired & connected to another iOS/Android device. To check the same, please follow the steps below.
I. qID Mini device LED status check
1. Check the status of the “LED Link” light.
2. If it is solid, “Blue”; means qID device is already in paired with another iOS/Android device; as shown in below image.
3. If it is “OFF” then no connection is established
4. If it is solid “Orange” means the USB cable is connected to either the Power adapter or to the computer.
II. On TagMatiks Wedge Application, qID Mini Reader check
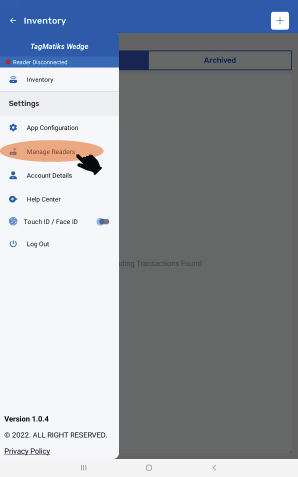
1. Open TagMatiks Wedge application and tap on the upper left corner of the screen.
2. Select the “Manage Readers” option to see the list of the readers.
3. Tap on ‘CAEN RFID Reader” to connect Caen qID MIni with the application.
4. Tap on Readers List to continue
5. If no reader appears in the list this means that no qID reader is there nearby the Android device or the qID Reader is already paired with another iOS/Android device. Then TagMatiks Wedge application will show “No Available Readers.” As shown in the image below.
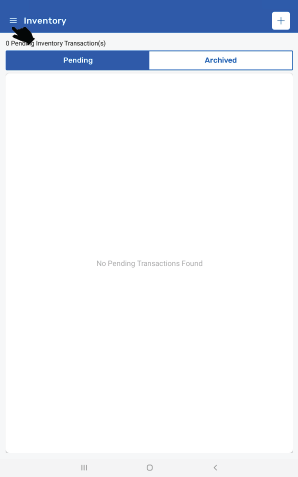
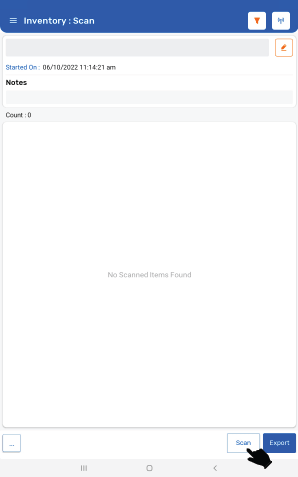
1. To read the RFID tags from qID MIni reader; press the “Inventory” button - on the left-hand side of application.
2. Then a new window will open, named: “Inventory.”
3. Create a new Inventory transaction, by pressing the “Scan” button on the right bottom of the application. Refer to image below:
4. Then create a new Inventory and name the Inventory list. Like here it is created under the name of “TEST”.
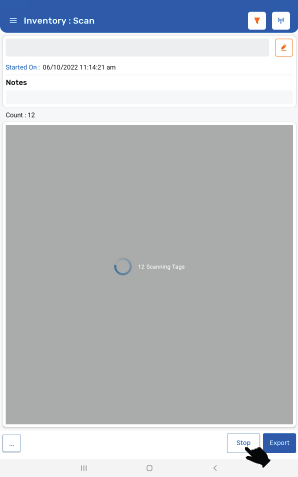
5. Press the “Scan” button (on the right bottom of the application) for reading the RFID tags.
6. The qID Mini reader is in polling state and reading the tags. Same can be seen in the application window. Refer to the image below:
7. Once you press the “Stop” button (on the right bottom of the application); reader will stop reading the tags.
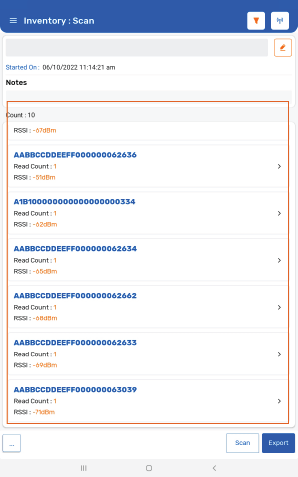
8. As a result, the read tags will populate on the application window, as shown in below image.