This section contains setup information for using the Zebra RFD40/90 sled RFID reader with TagMatiks Wedge. Although many of the steps may refer to the RFD40, similar steps can be considered for the RFD90.
• You must have a charged Zebra RFD40 RFID reader to continue to set up steps.
• For connecting with Zebra RFD40 in TagMatiks Wedge, you must pair the device in the settings app using Bluetooth.
Please follow the steps below to pair your RFD40 reader
Zebra RFD40 can easily be turned ON by pressing the trigger. The connection Status LED will become amber blue in color as an indication of the reader being awake and ready to connect.
A. Pairing the RFD40/90 to an Android device using Bluetooth.
Please note that this requires a Zebra RFD40 Premium or Premium Plus.
B. Connecting the RFD40/90 to an Android device using an 8-pins adapter.
1. You’ll need to pair the reader to your Android device using the device’s Bluetooth pairing process before using it with TagMatiks Wedge.
2. Press the reader trigger to turn on the Bluetooth of the reader. Bluetooth light will start blinking, if it is ON.
Note: If the Bluetooth light does not blink, it means it is connected to another mobile device.
3. Turn on the Bluetooth of the Android device and select the RFD40+ (the following component is the serial # - _22055520100870) from the available device list as shown in the below image Fig 0.3.
4. Then the Android device will ask for the confirmation of the connection. Tap on Pair to complete the connection. As shown in Fig 0.4.
5. After the reader is connected to the Android device, the reader’s Bluetooth light will stop blinking and turn solid blue. As shown in Fig 0.5.
Note :This requires a Zebra compatible mobile computer with 8 pins. (2 pins will not work).
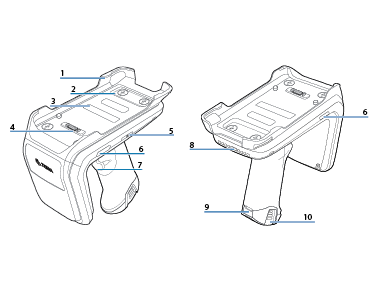
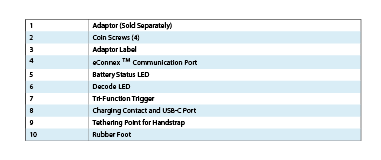
1. Connect with the 8-pin eConnex™ Adapter with reader As shown in Fig 0.6.
Step 1: First remove the blank cover from the Zebra RFD40/90.
Step 2: Adjust the specific pin from the handheld, as indicated by the blue arrow.
Step 3: Fix the cover with 4 screws .
2. Connect TC22 8 pins with Zebra RFD40/90 reader as shown in Fig 0.7.
Step 1: Insert the device into the top of the adaptor.
Step 2: Push the device down into the adaptor until it locks into place.
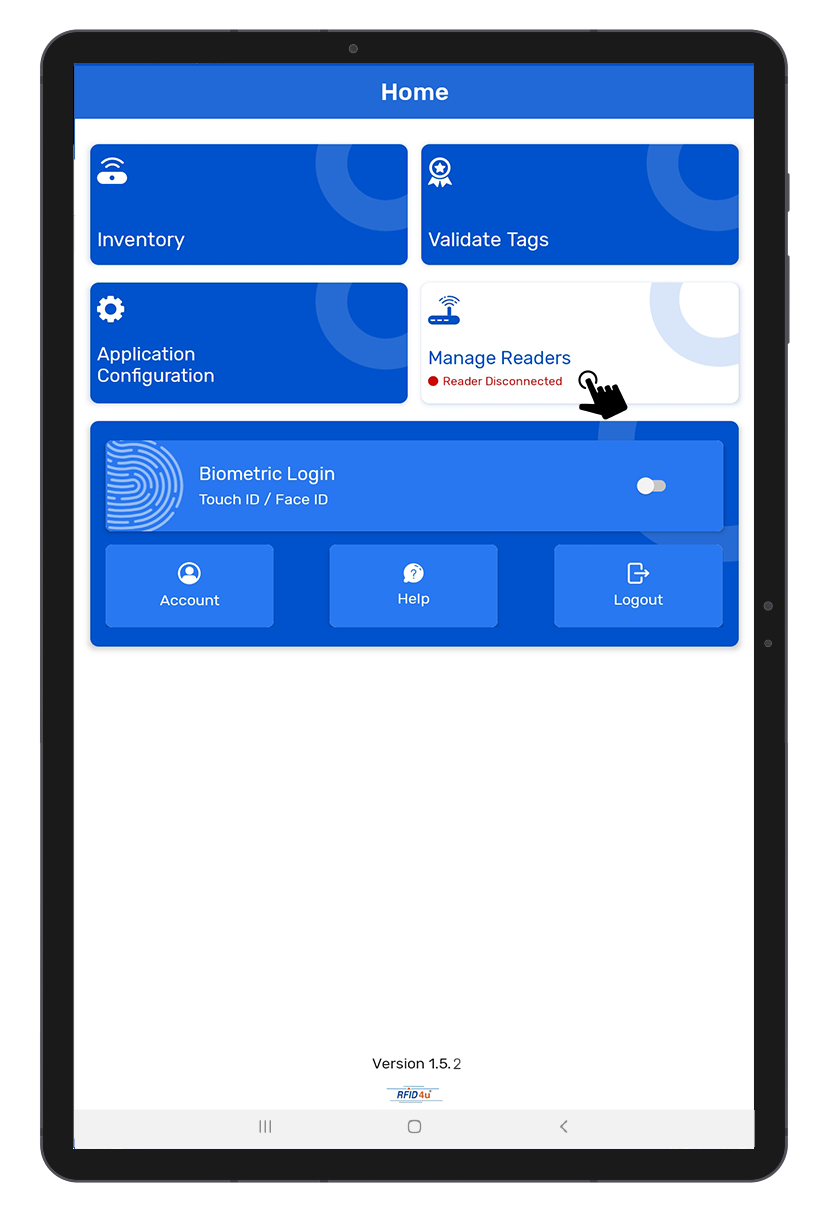
1. Open TagMatiks Wedge and Login into it.
2. Click on the “Manage Readers” option to see the list of the readers. As shown in Fig 0.8.
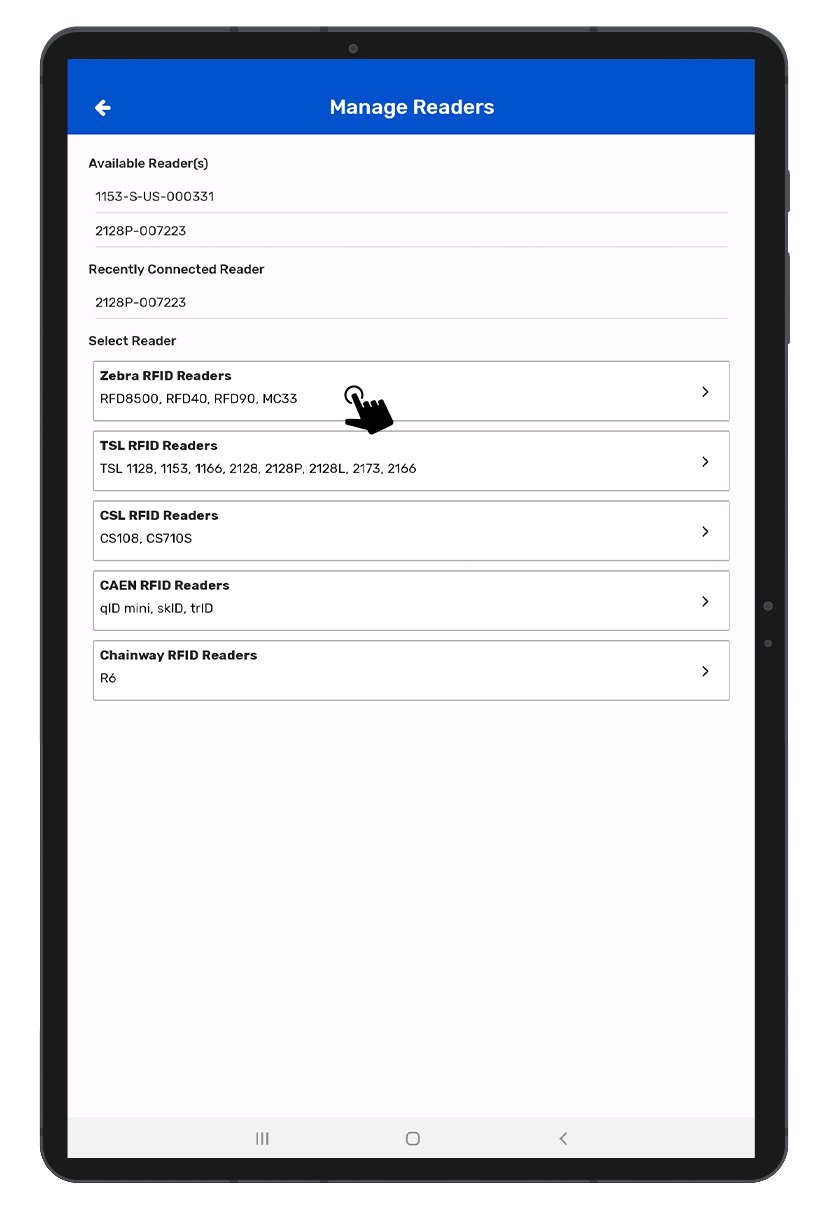
3. Select ‘Zebra RFID Reader” to connect Zebra RFD40 with the application. As shown in Fig 0.9.
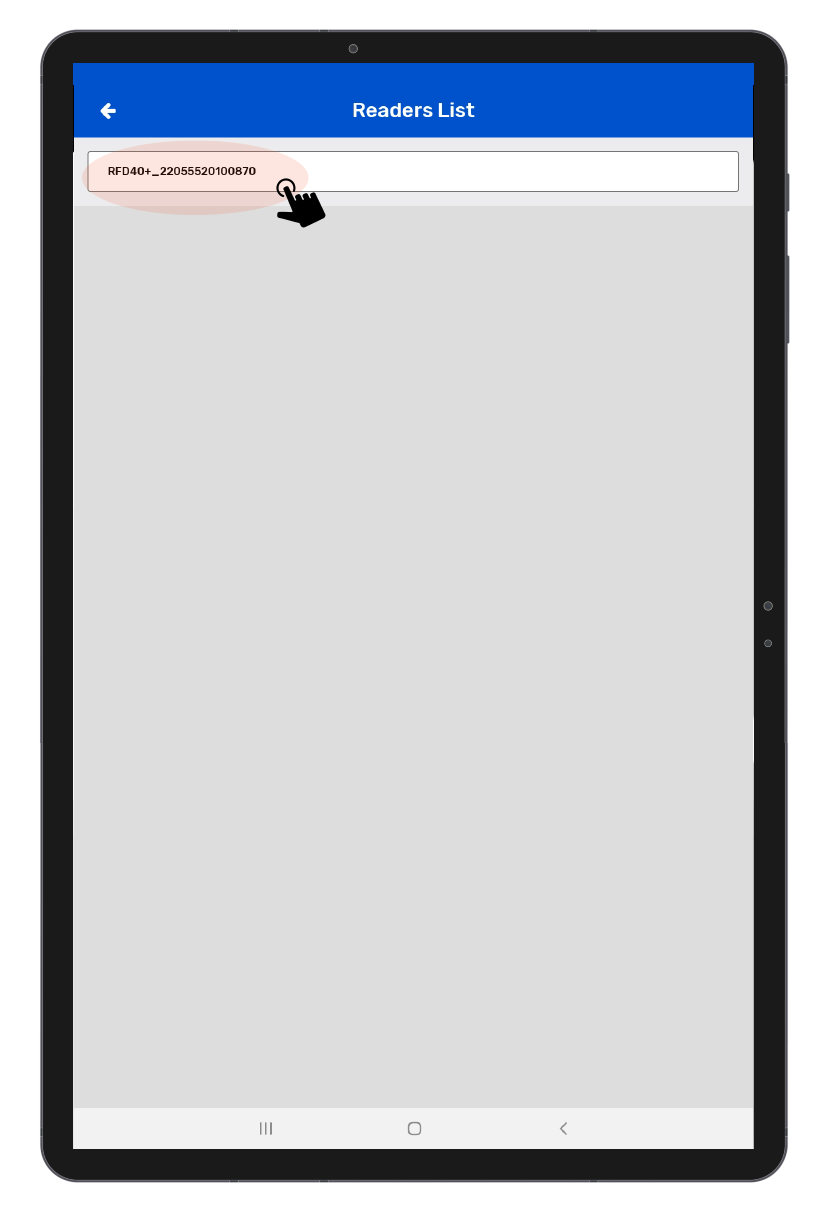
4. Select the “RFD40+_22055520100765” to successfully make the connection between the TagMatiks Wedge application & Zebra RFD40 Reader as shown in Fig 1.0.
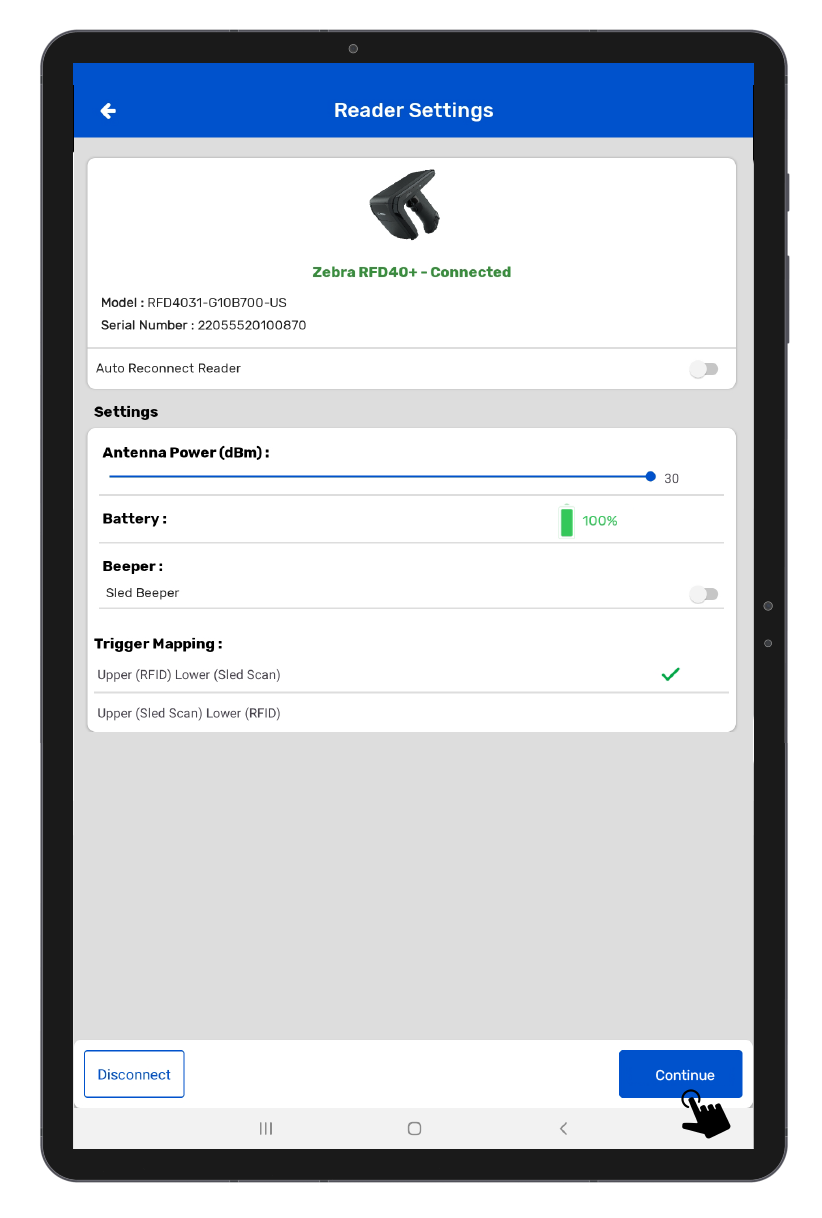
5. You can also configure the settings of the reader from the Reader Settings page ,as shown in the image below Fig 1.1
• Antenna - Adjusts the range of the RFID handheld or sled.
• Battery - displays the battery of the RFID handheld or sled
• Beeper Sound - Sound On and Off - When Reading or Scanning the Tags
• Auto reconnect - Turn ON and OFF for enabling the Auto reconnect reader with Application.
• Trigger Mapping: Select trigger option for scan RFID and Barcode.
1) Upper (RFID)Lower (Sled Scan) - When you select this option, Means Upper Part of the Trigger will be set to read the RFID Tags and Lower Part of the Trigger will be set to scan the Barcodes.
2) Upper (Sled Scan) & Lower (RFID)-When you select this option, Means Upper Part of the Trigger will be set to scan the Barcodes and Lower Part of the Trigger will be set to Read the RFID Tags.
Note: Make Sure to Press the Trigger Lightly and the corresponding porting of the Trigger only (Either Upper or Lower) whatever is set and not to press the joint section of the Trigger to avoid any misbehave.
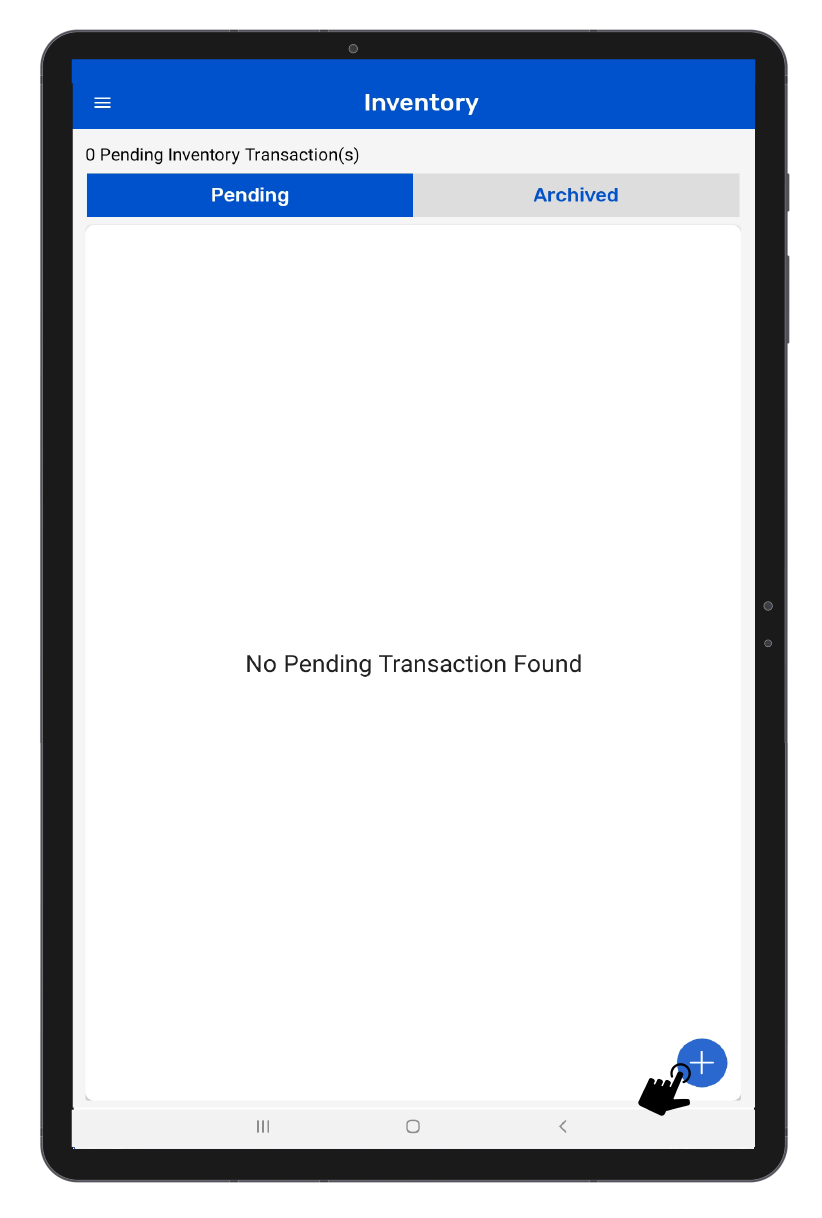
1. To read the RFID tags from Zebra RFD 40 reader; Click on the inventory button option from the home page of Application.
2. Click on + icon button to create a new inventory. As shown in Fig 1.2.
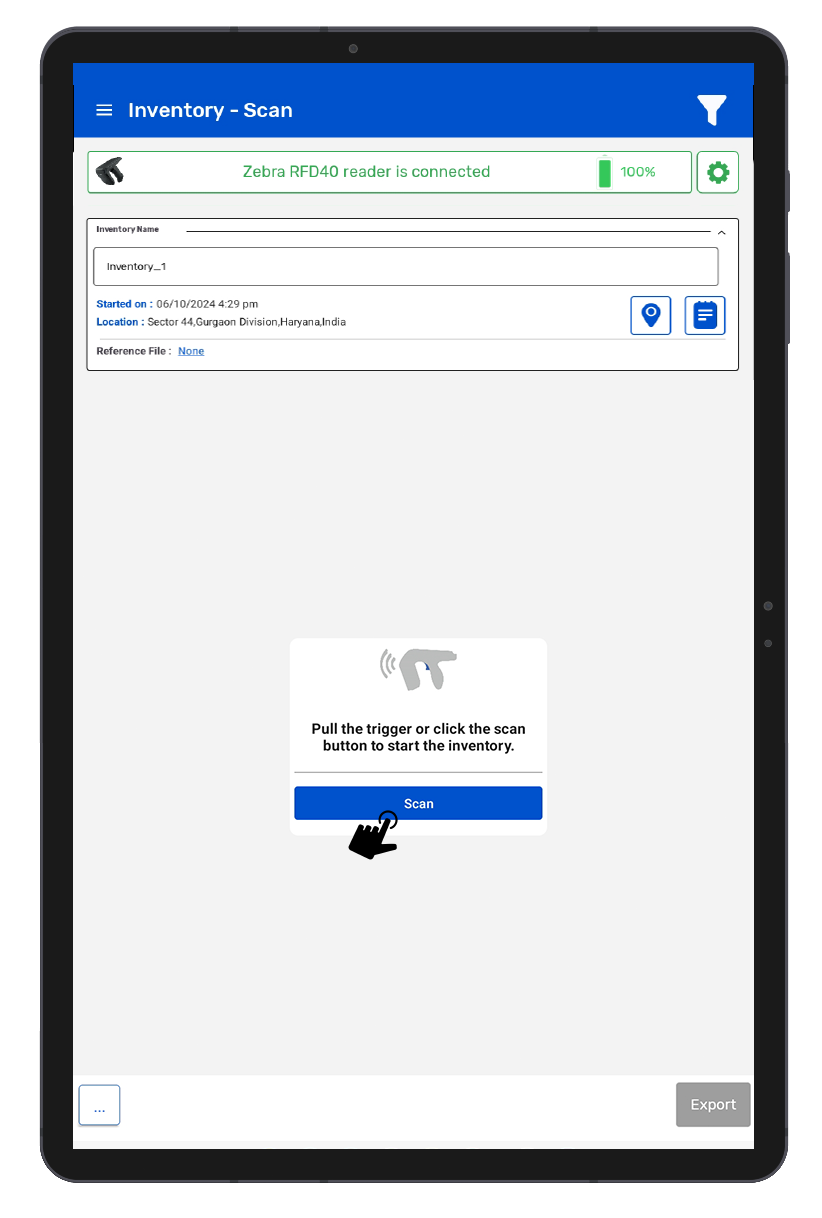
3. Click on the Scan soft button from the Inventory Scan page. As shown in Fig 1.3.
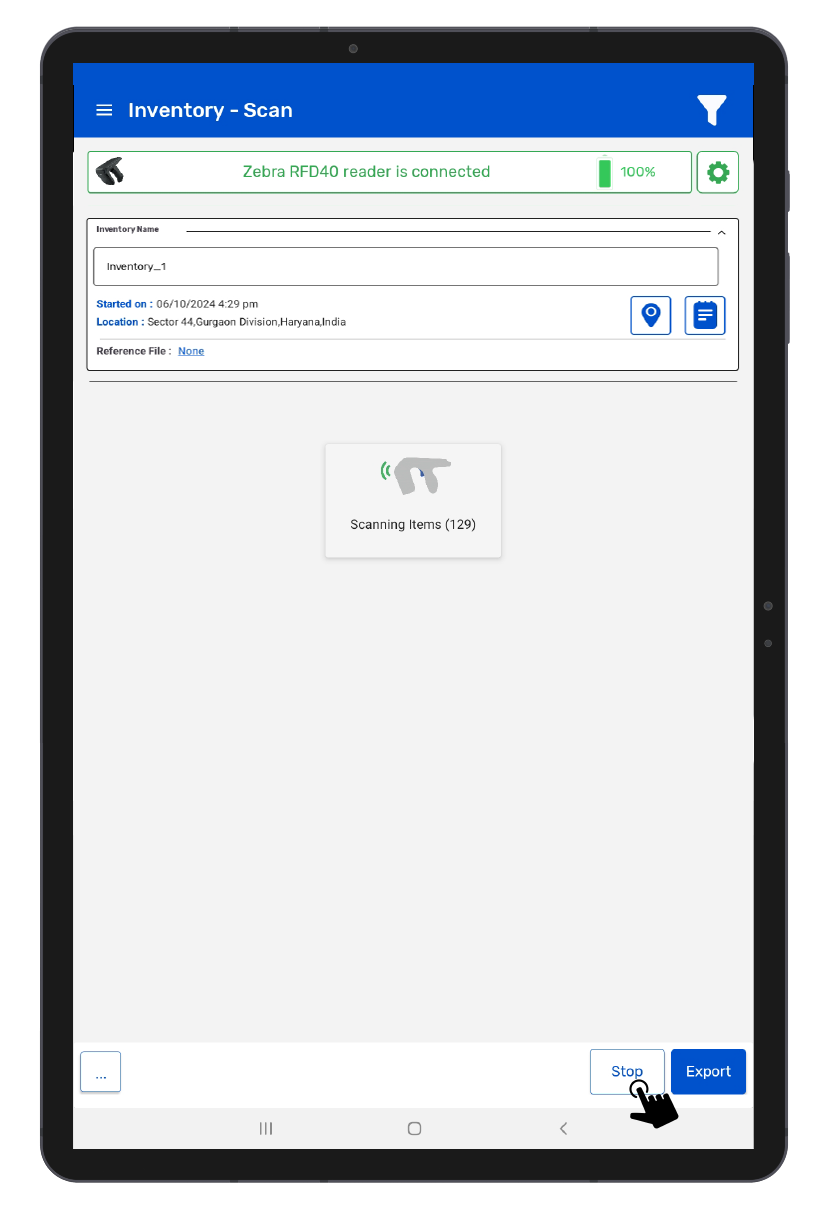
4. The RFD40 reader is in polling state and reading the tags. Same can be seen in the application window. Refer to the image below:1.4.
5.Once you press the “Stop” button (on the right bottom of the application); reader will stop reading the tags.
6.As a result, the read tags will populate on the application window, as shown in the image below. Fig : 1.5.