This section contains setup information for using the Zebra TC22R RFID Reader with the TagMatiks Wedge Application.
This document is divided into multiple sections as:
A. Switching ON & OFF Zebra TC22R Device
B. Reading of RFID Tags using Zebra TC22R Device using TagMatiks Wedge Application
a. Turn ON the Zebra TC22R reader
1. Turn on the Reader by pressing the Power button until the buzzer sounds
2. LED communicated mode Turns ON after the Switch on the Reader
b. Turn OFF the Zebra TC22R reader
1. While Power is On, Press the Power button up to the buzzer sound.
2. If the communication mode LED turns off after the buzzer sounds, then the reader is powered off.
1. Open the TagMatiks Wedge Application and login onto it.
2. Zebra TC22R Reader is automatically connected to the application once we login
NOTE:
The Zebra TC22R Reader may not connect to the application due to the following reasons:
If any of these issues occur, the system will show that the device is not connected to the TagMatiks Wedge application.
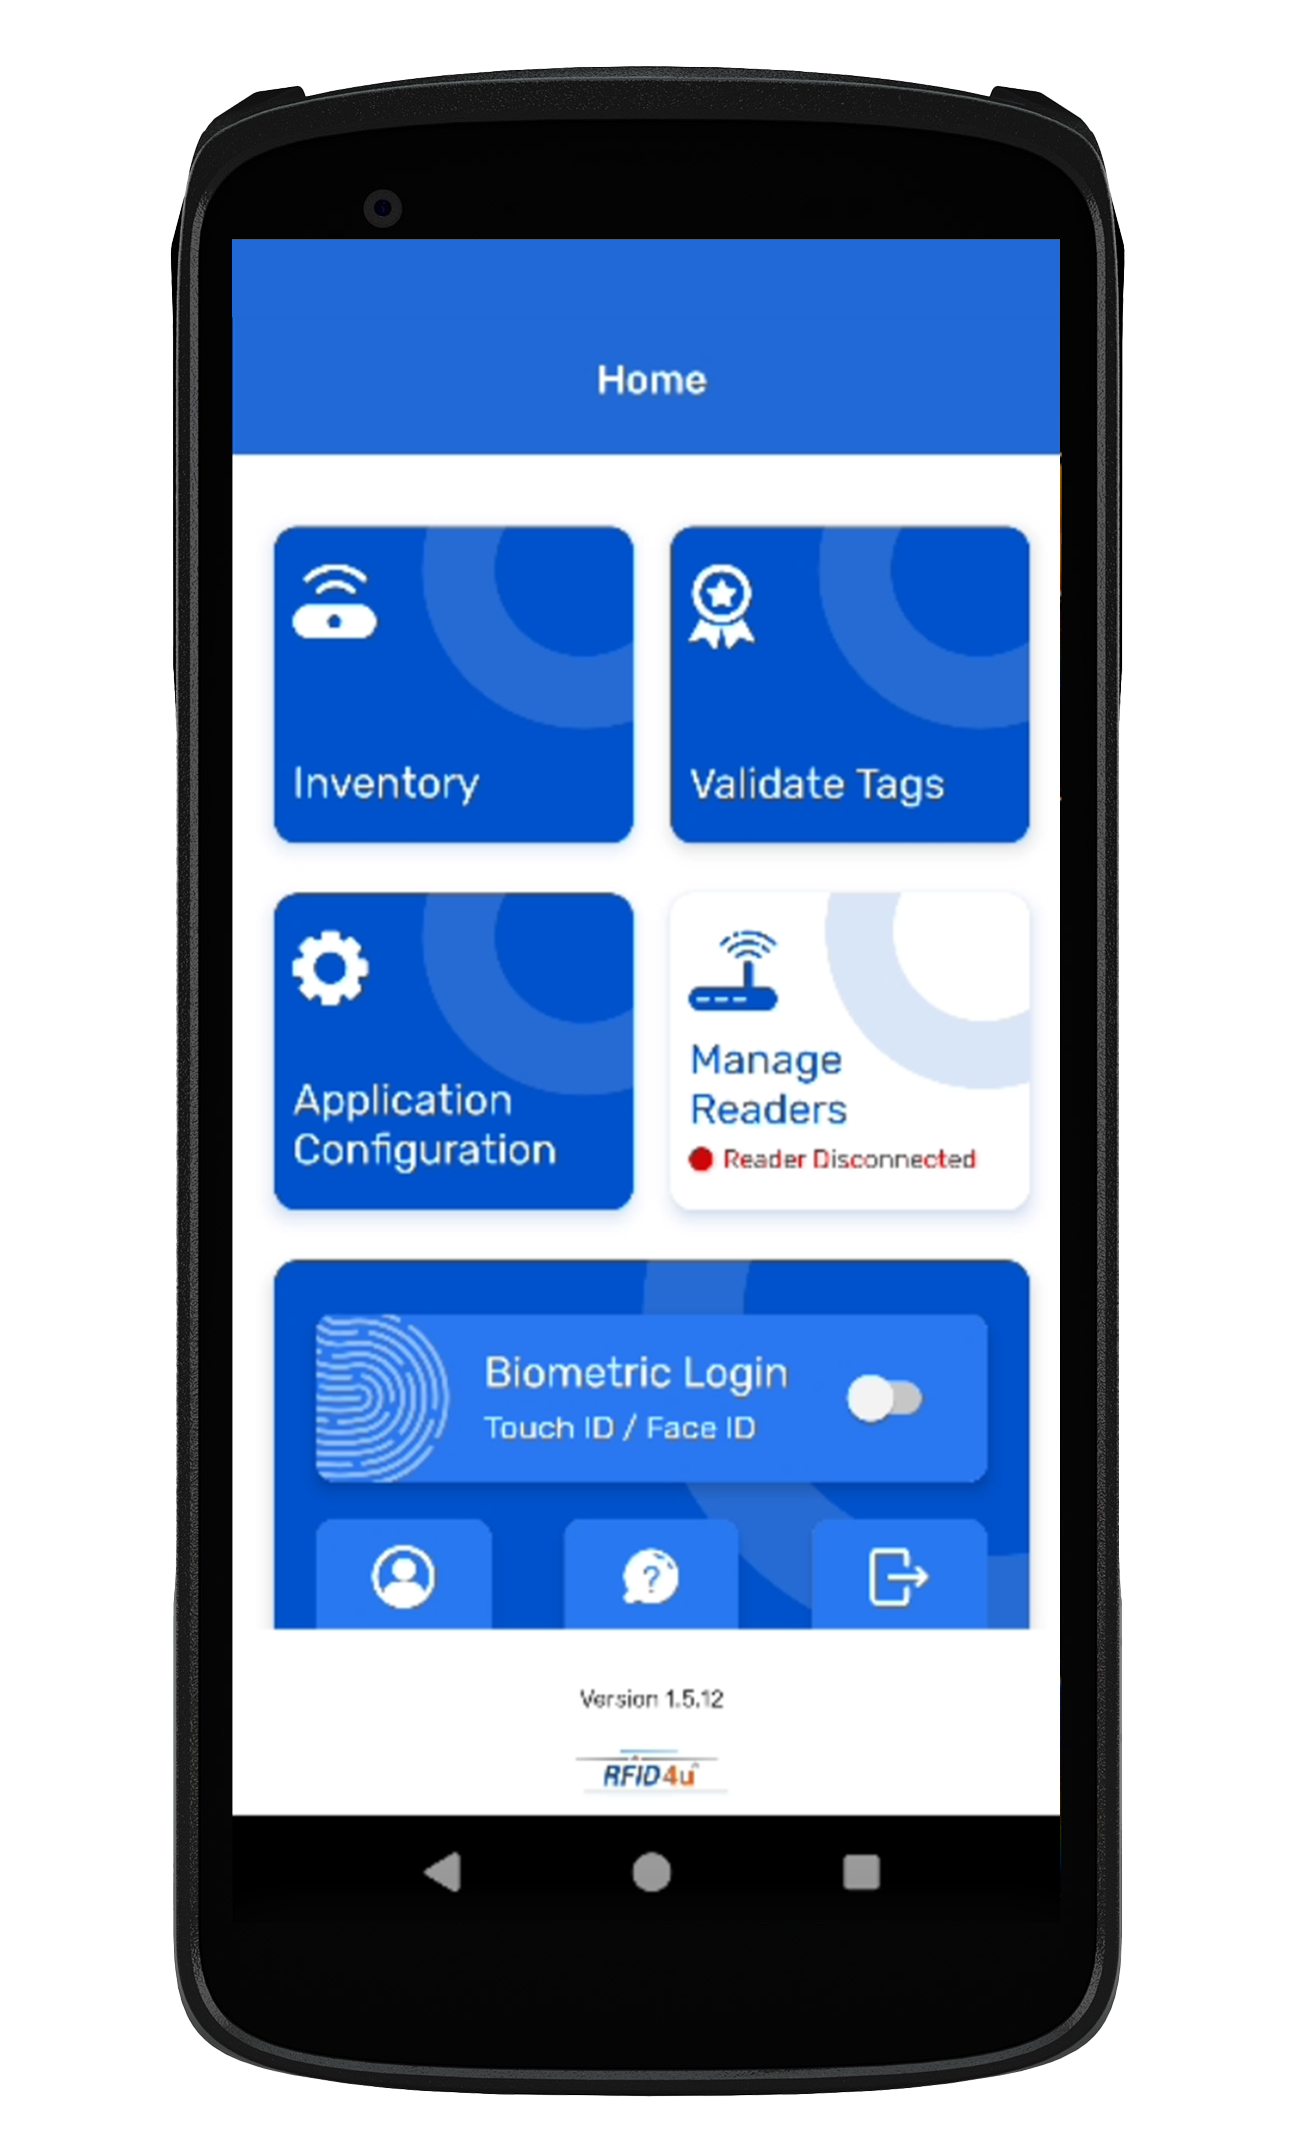
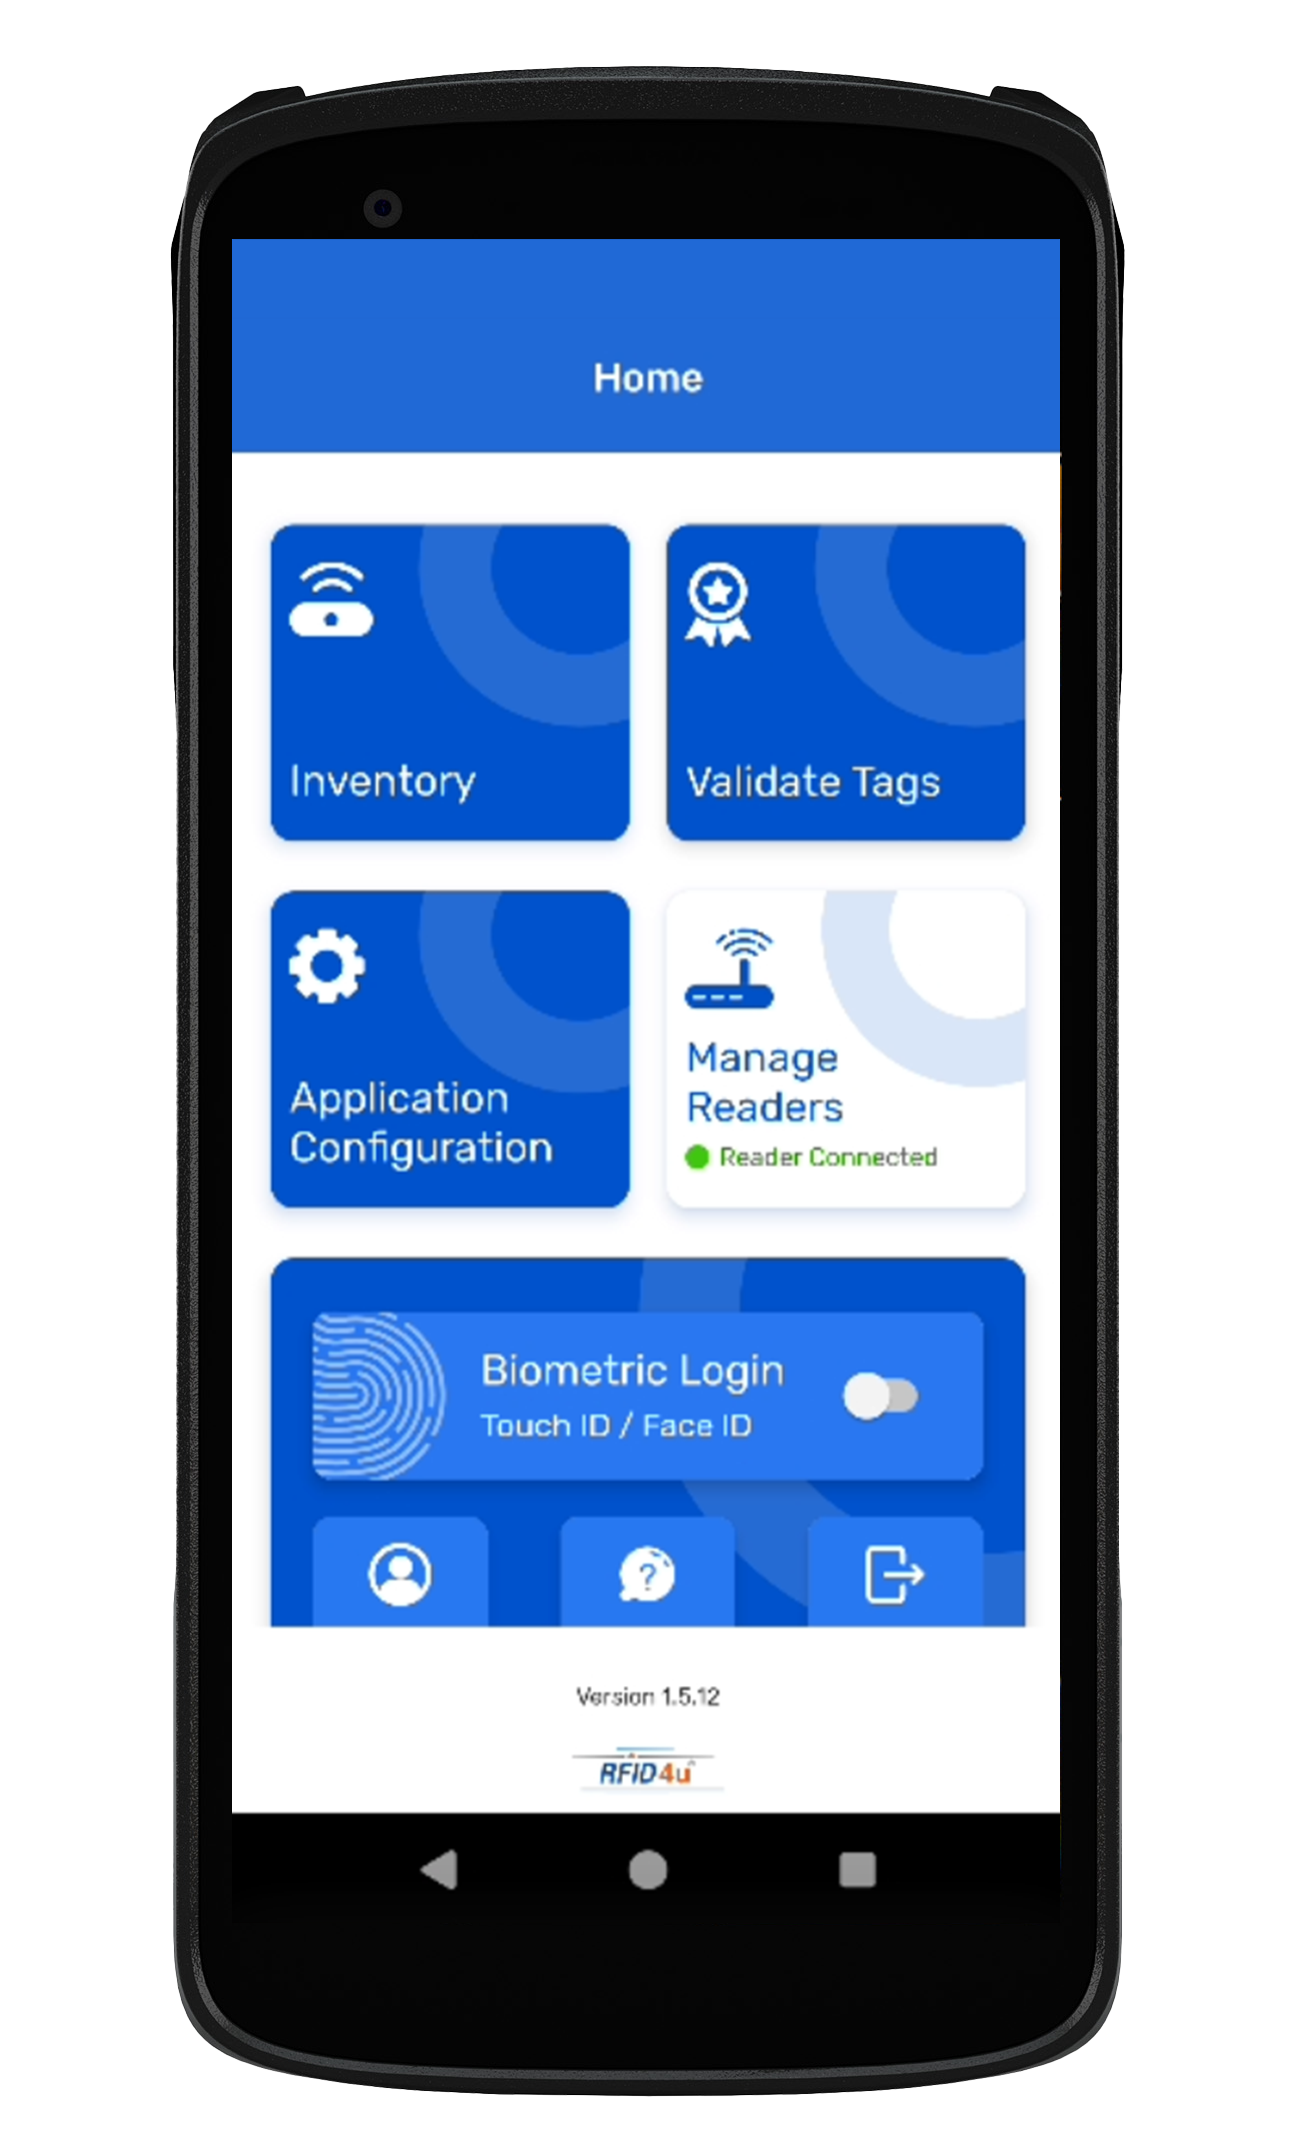
3. Click on the "Manage Readers" option on the Home Page. The Reader connection status can be seen on the Home Page, as shown in Fig 0.1 below.
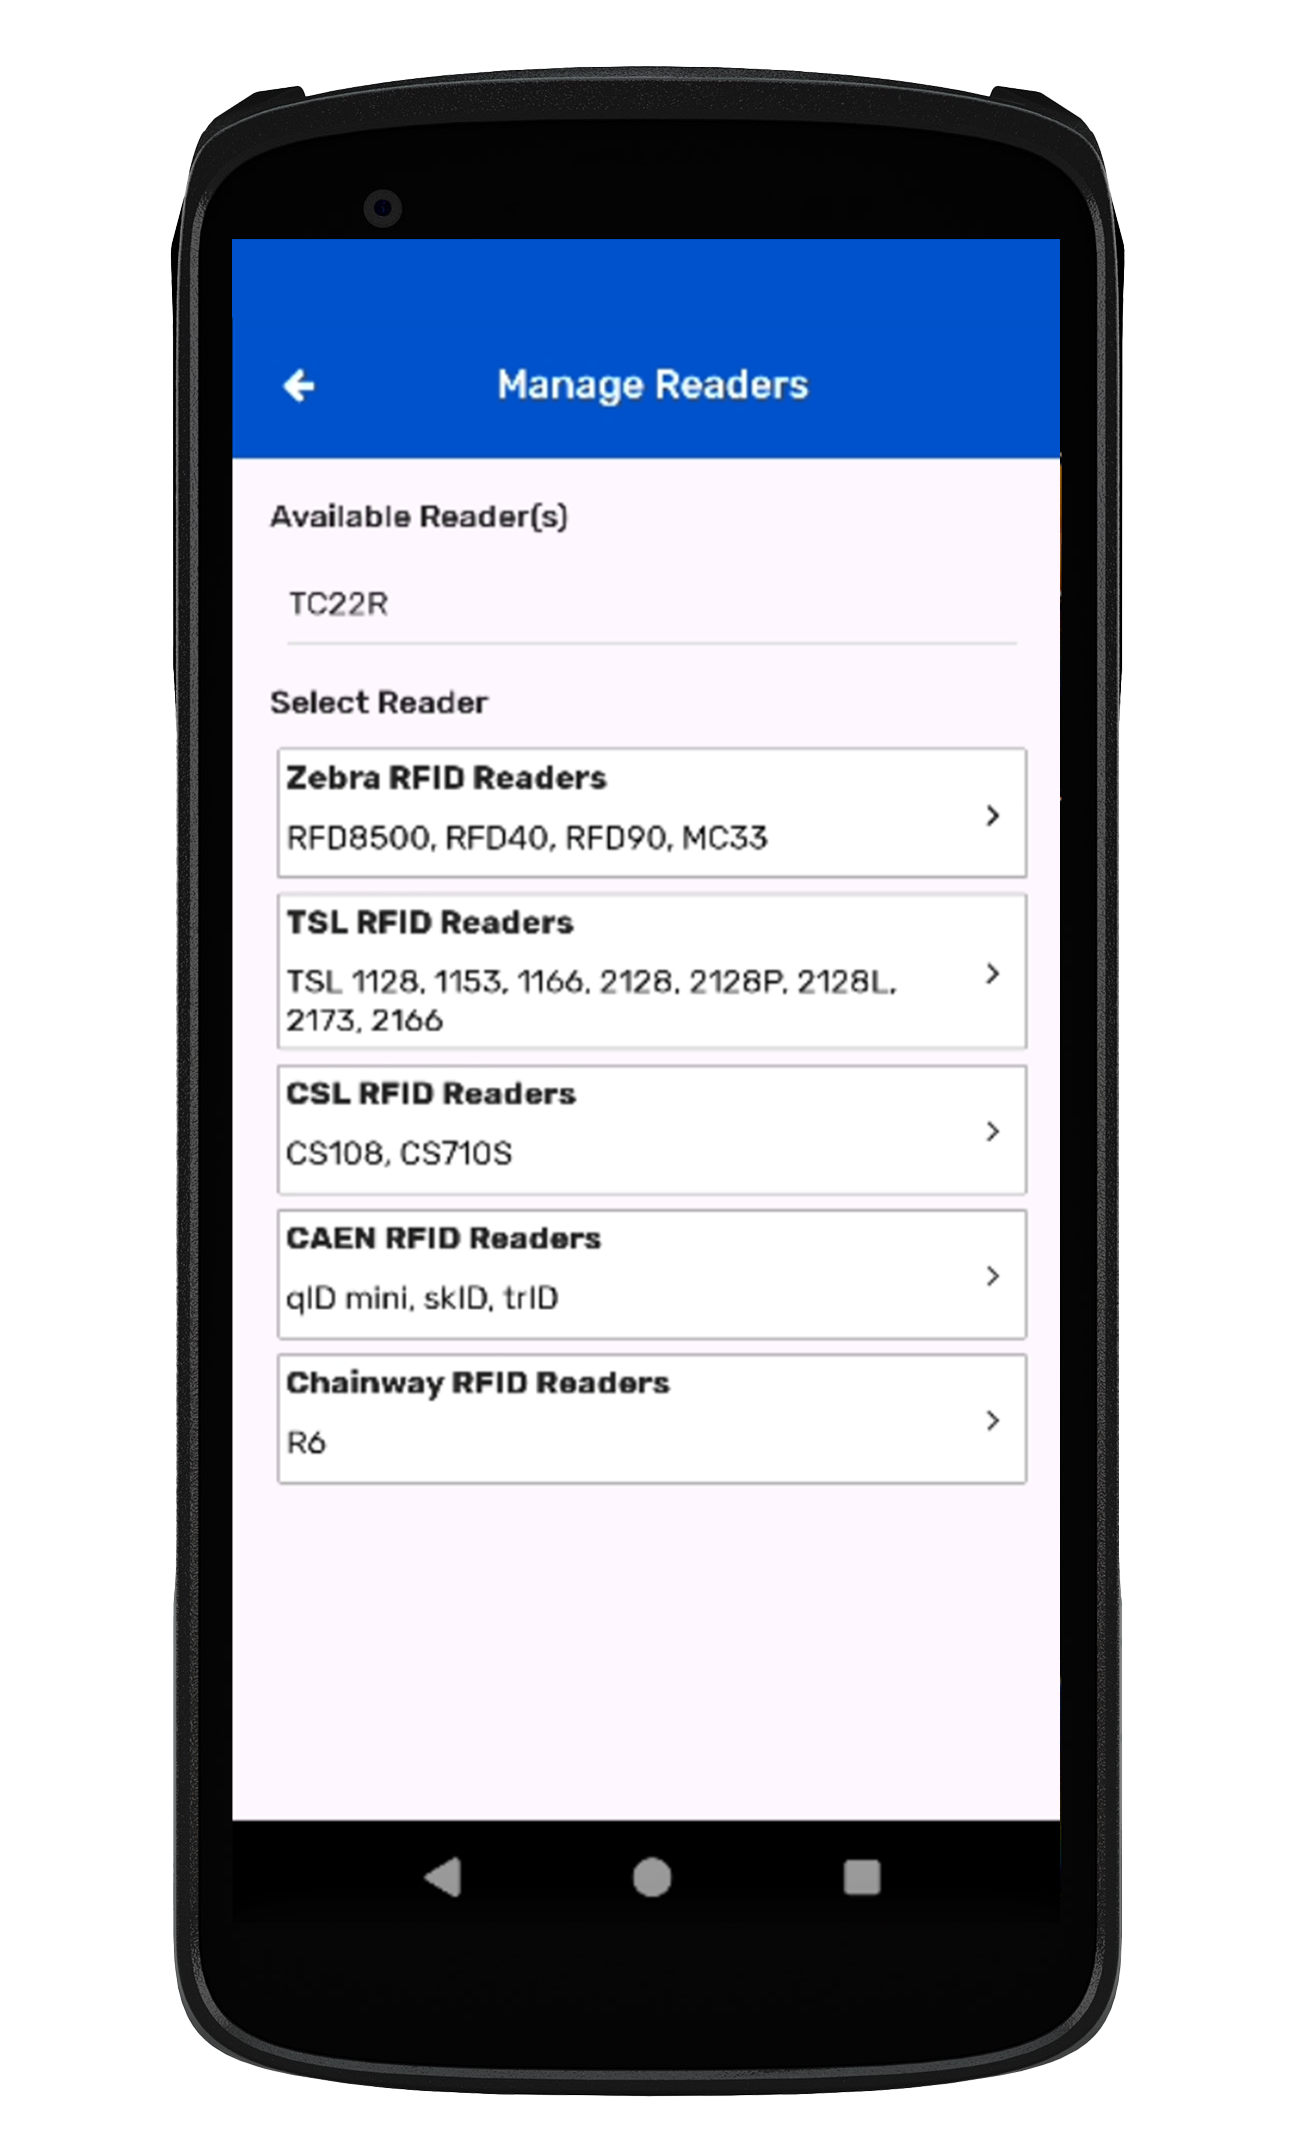
4. Click on the Zebra RFID Reader option from Manage Reader as shown in Fig 0.2.
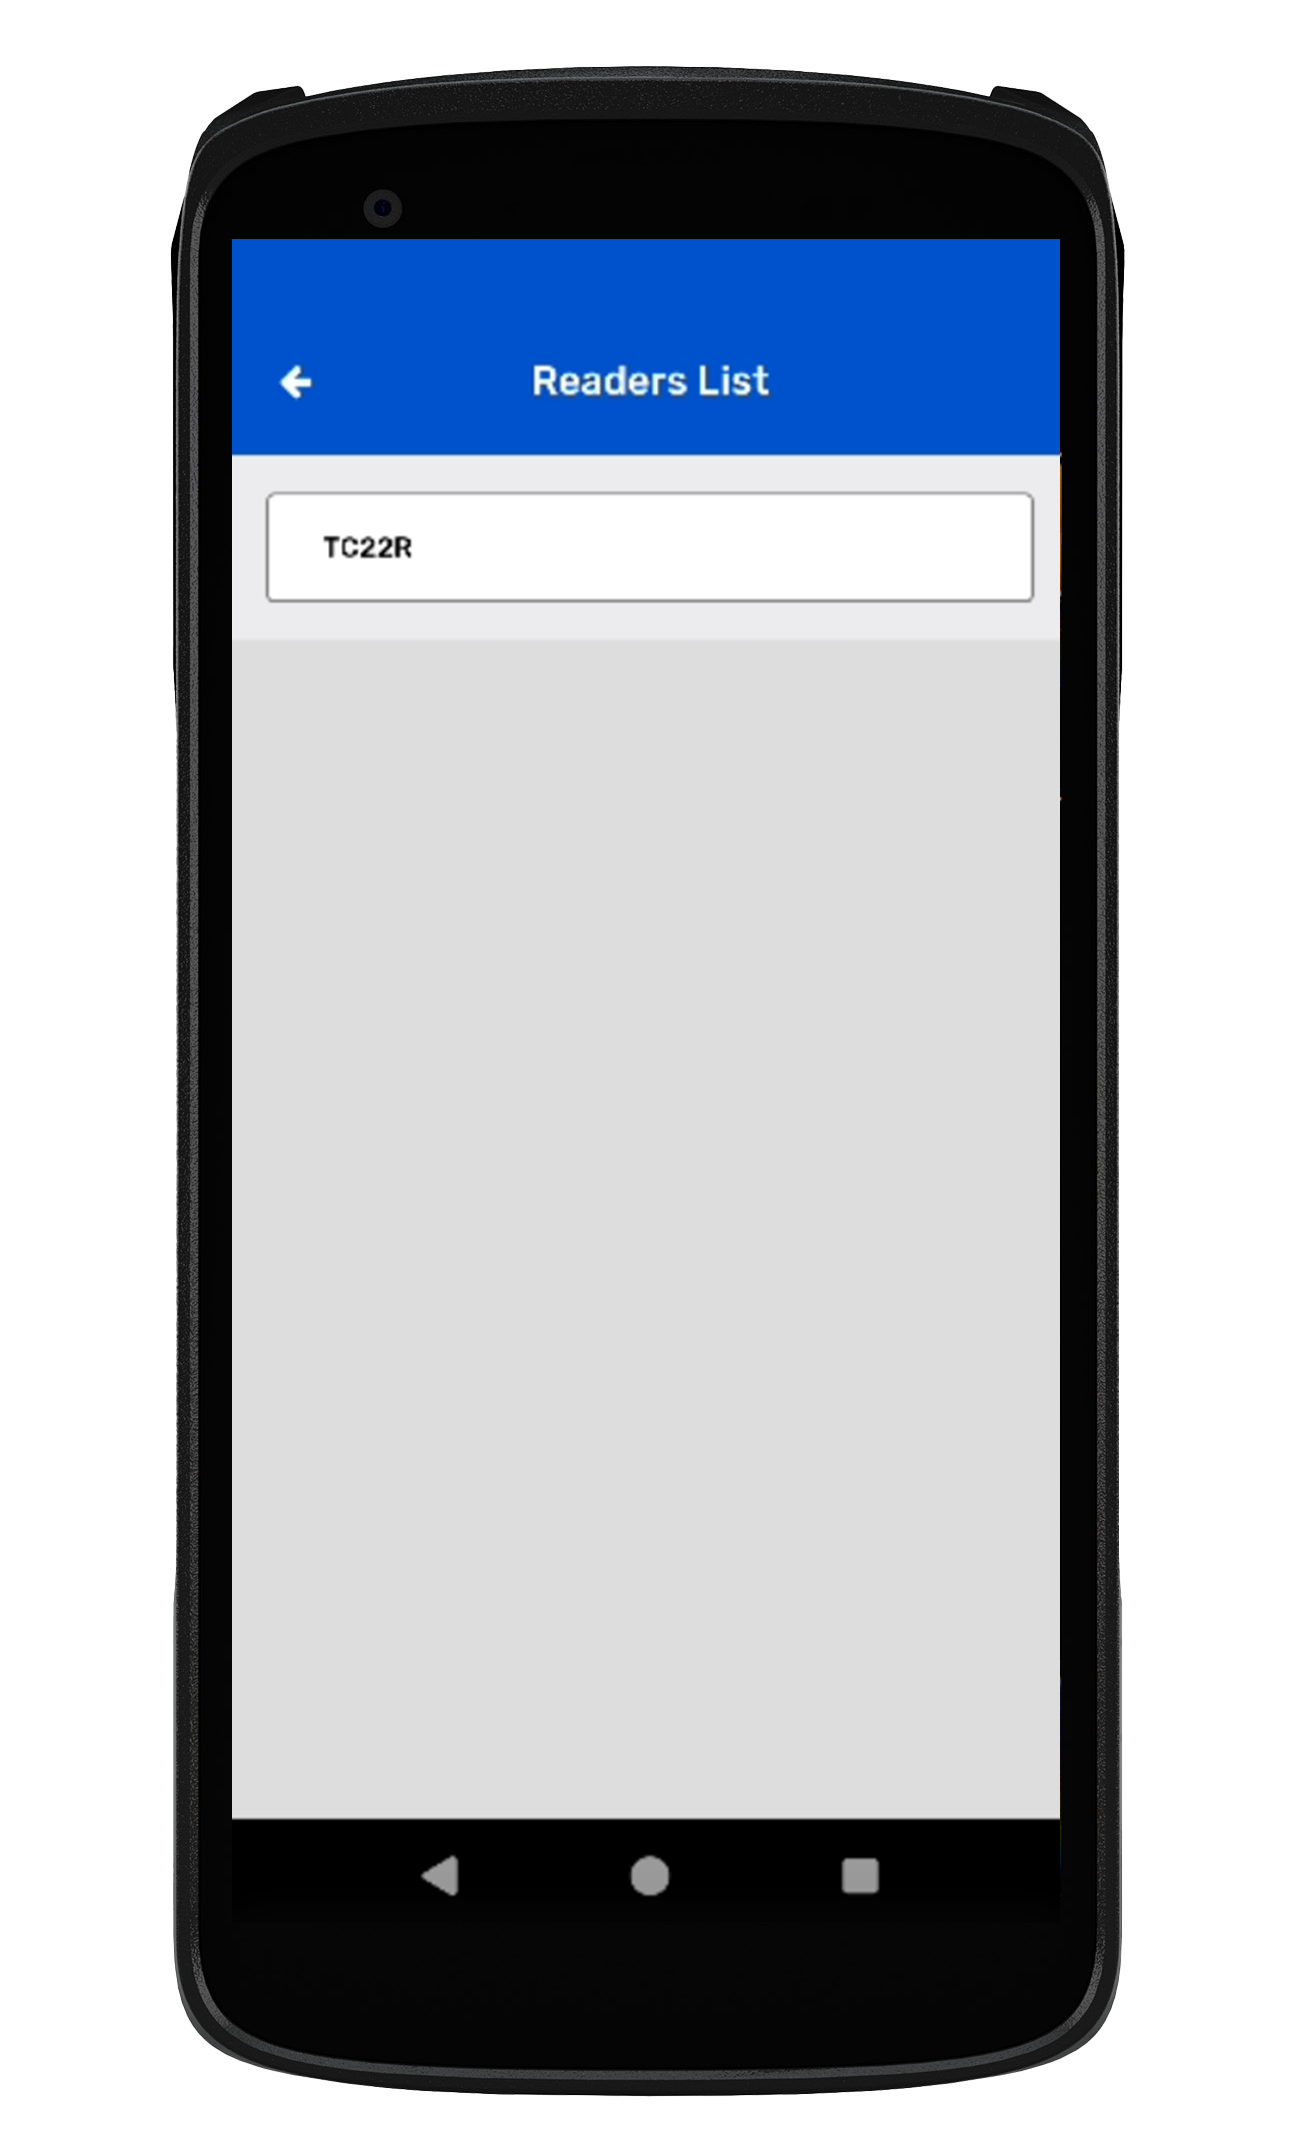
5. After Clicking on the Zebra RFID Reader , it will redirect you to the Reader list page, as shown in Fig 0.3.
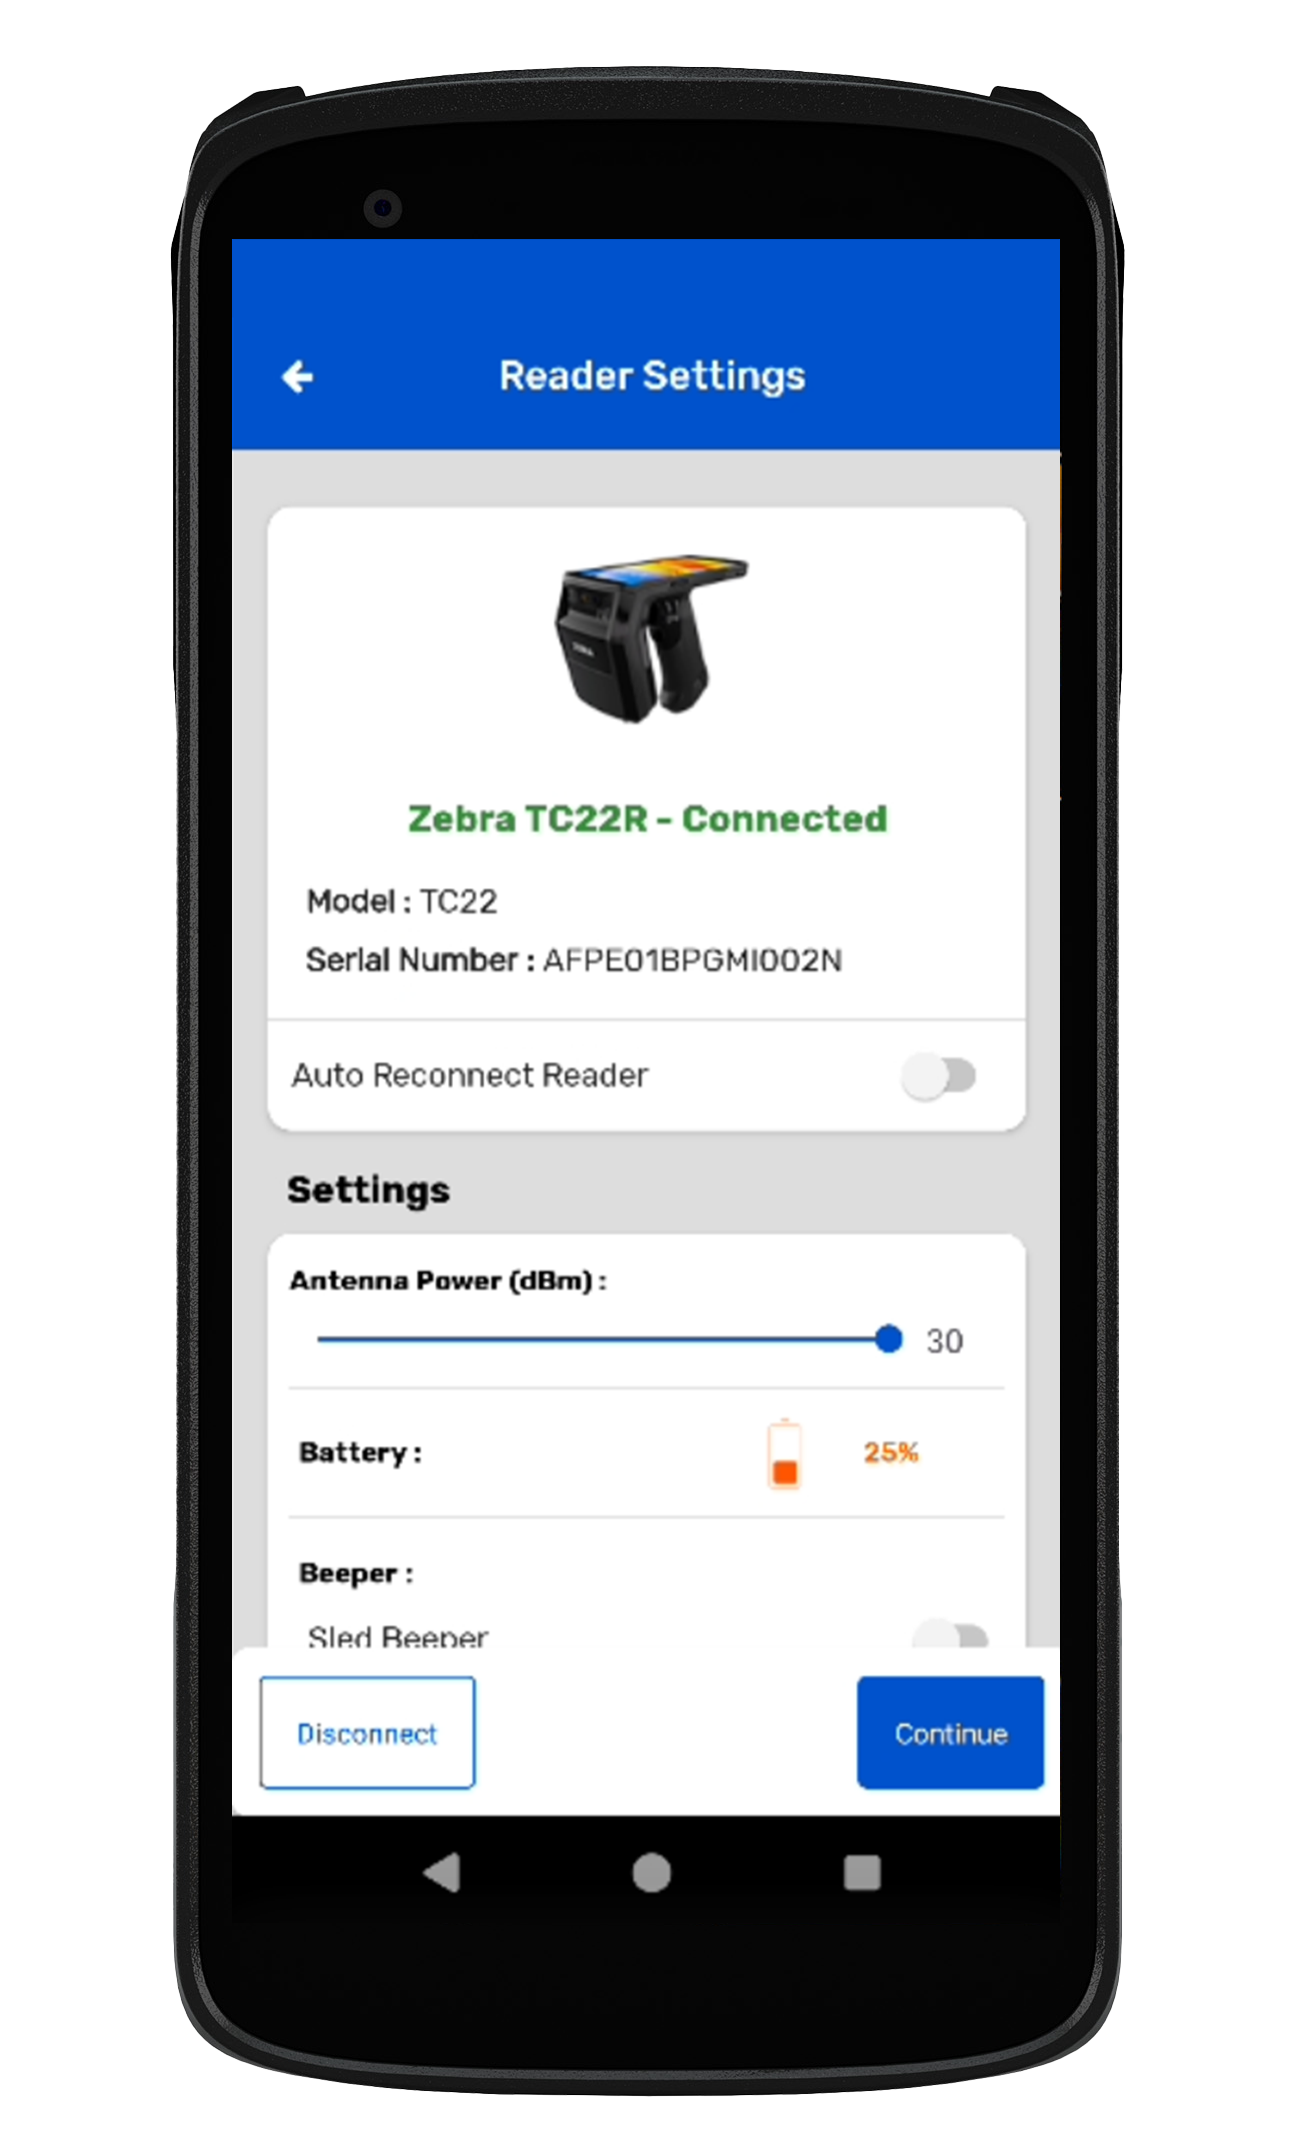
6. After clicking on "Reader," it will connect and redirect to the Reader Settings Page. The application will also fetch the model and serial number of the connected Zebra TC22R device, as shown in Fig 0.4.
1. Upper (RFID)Lower (Sled Scan) - When you select this option, Means Upper Part of the Trigger will be set to read the RFID Tags and Lower Part of the Trigger will be set to scan the Barcodes.
2. Upper (Sled Scan) & Lower (RFID)-When you select this option, Means Upper Part of the Trigger will be set to scan the Barcodes and Lower Part of the Trigger will be set to Read the RFID Tags.
NOTE: Make Sure to Press the Trigger Lightly and the corresponding porting of the Trigger only (Either Upper or Lower) whatever is set and not to press the joint section of the Trigger to avoid any misbehave.
1. To read the RFID tags from Zebra TC22R reader; Click on the inventory button option from the home page of Application, as shown in Fig 0.5.
2. Click on + icon button to create a new inventory. As shown in Fig 0.6.
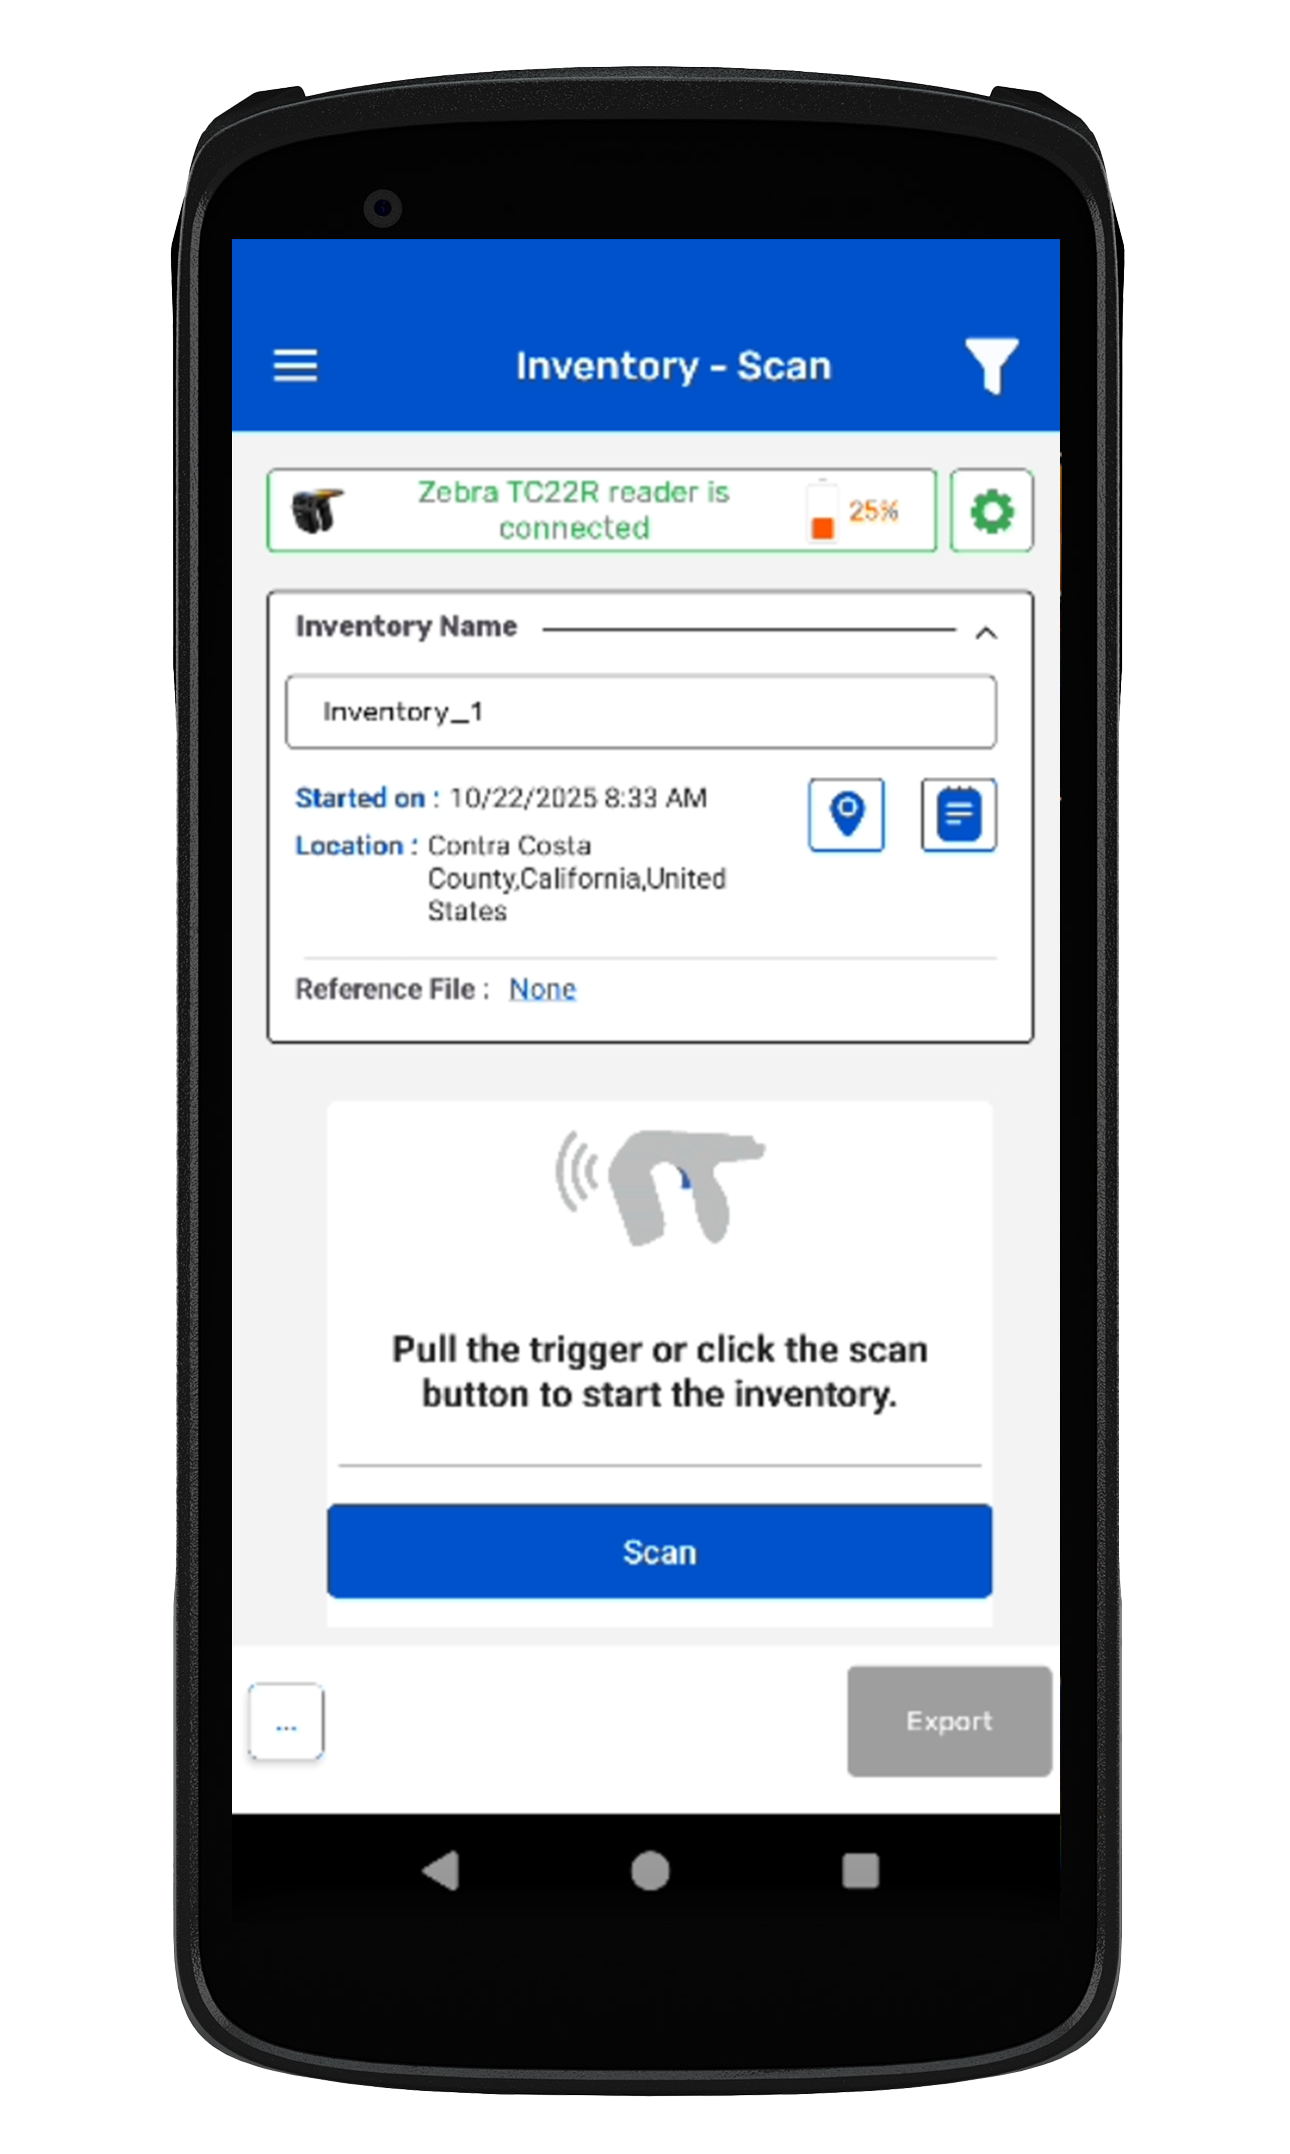
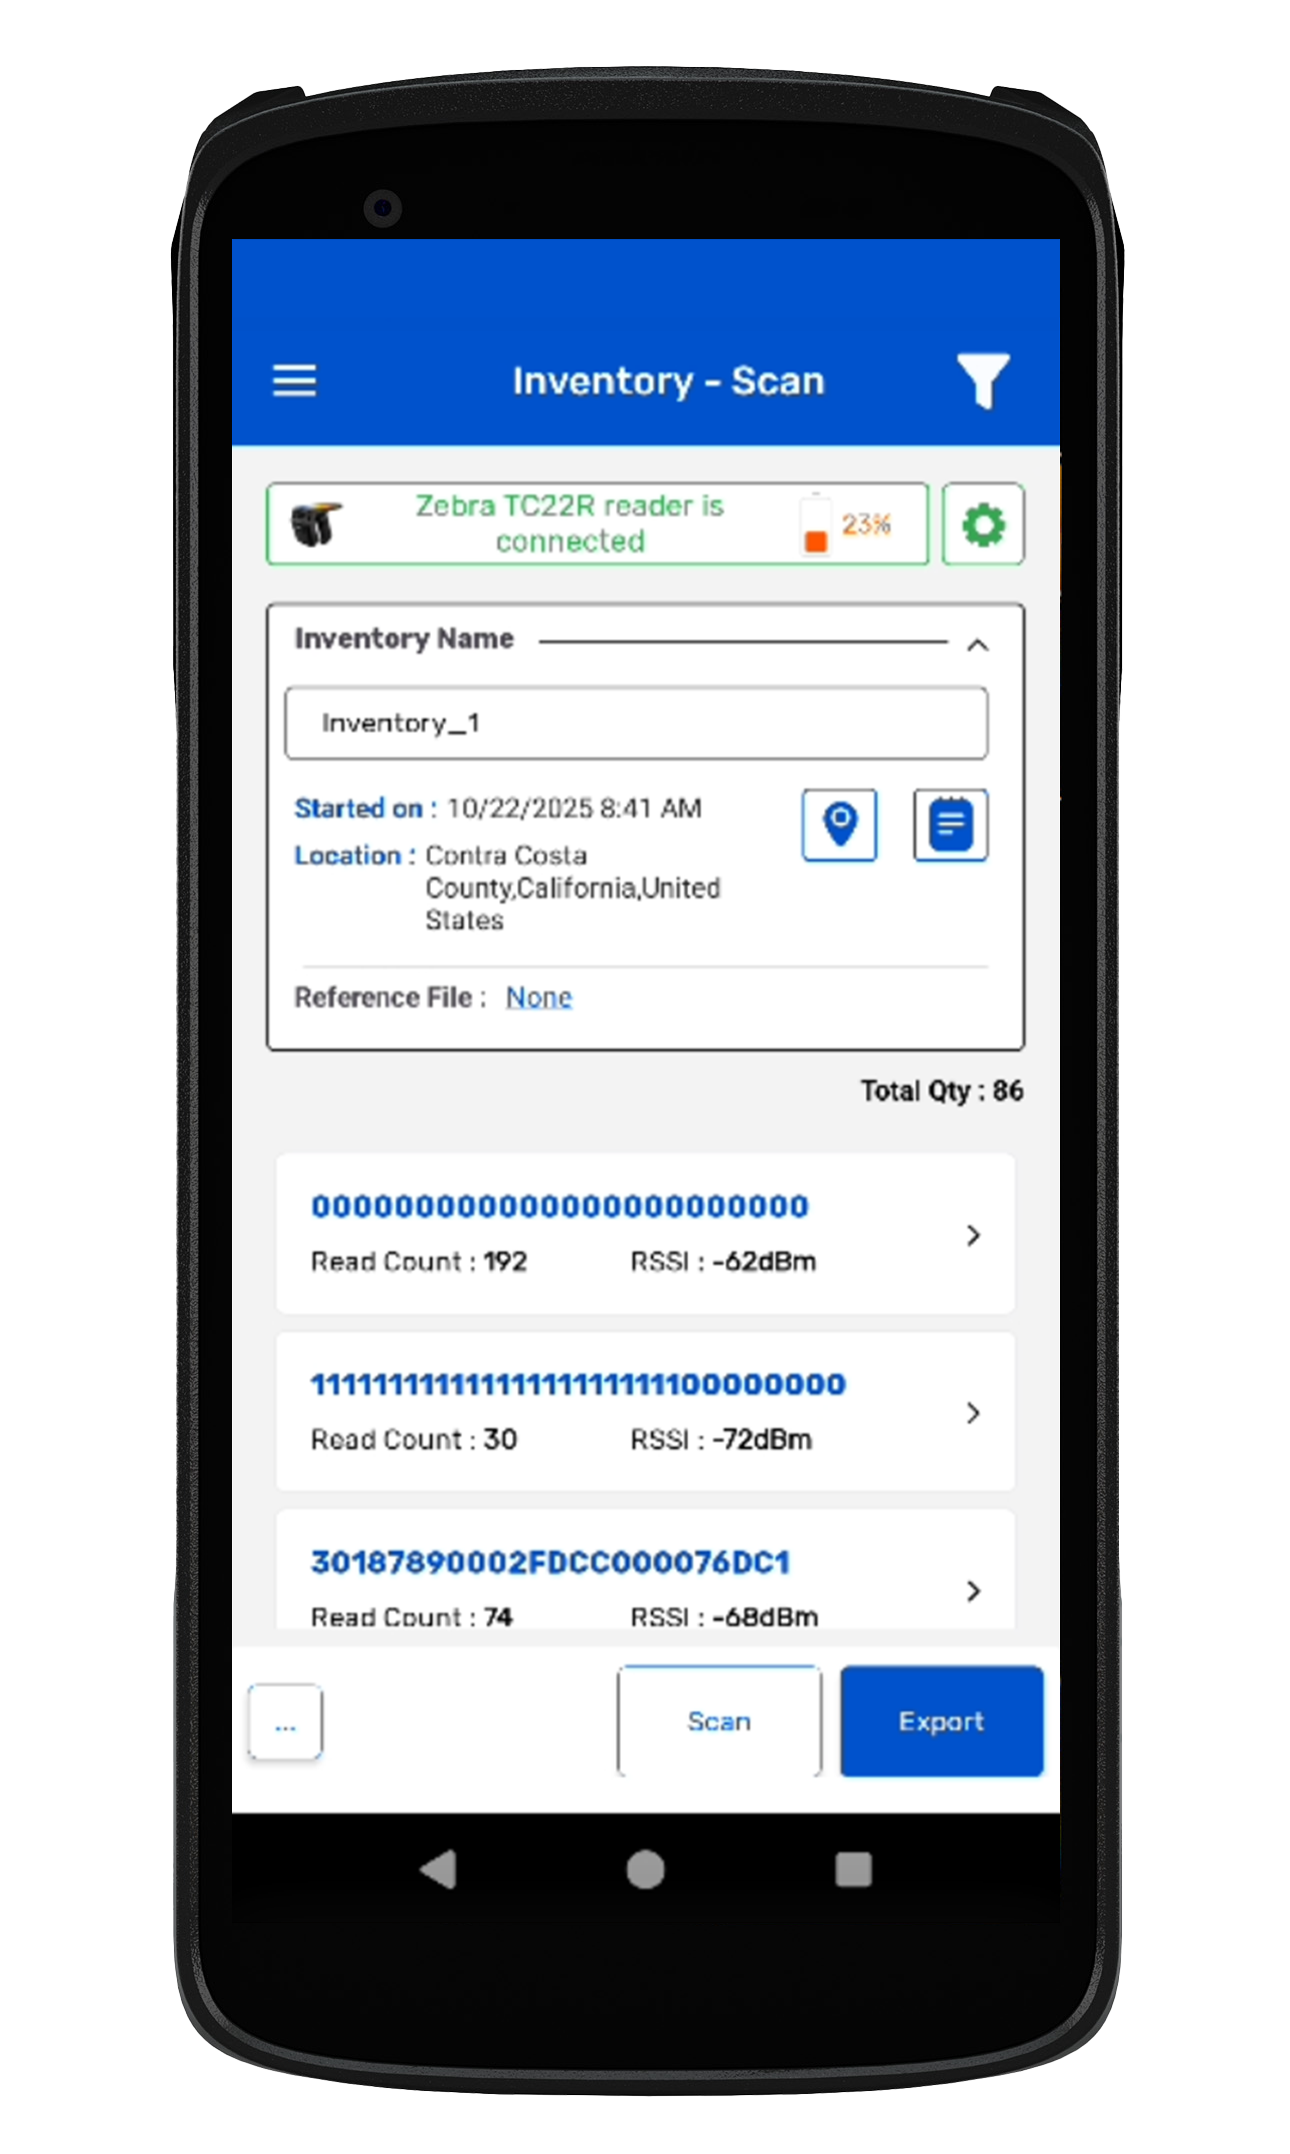
3. Click on the Scan soft button from the Inventory Scan page. As shown in Fig 0.7.
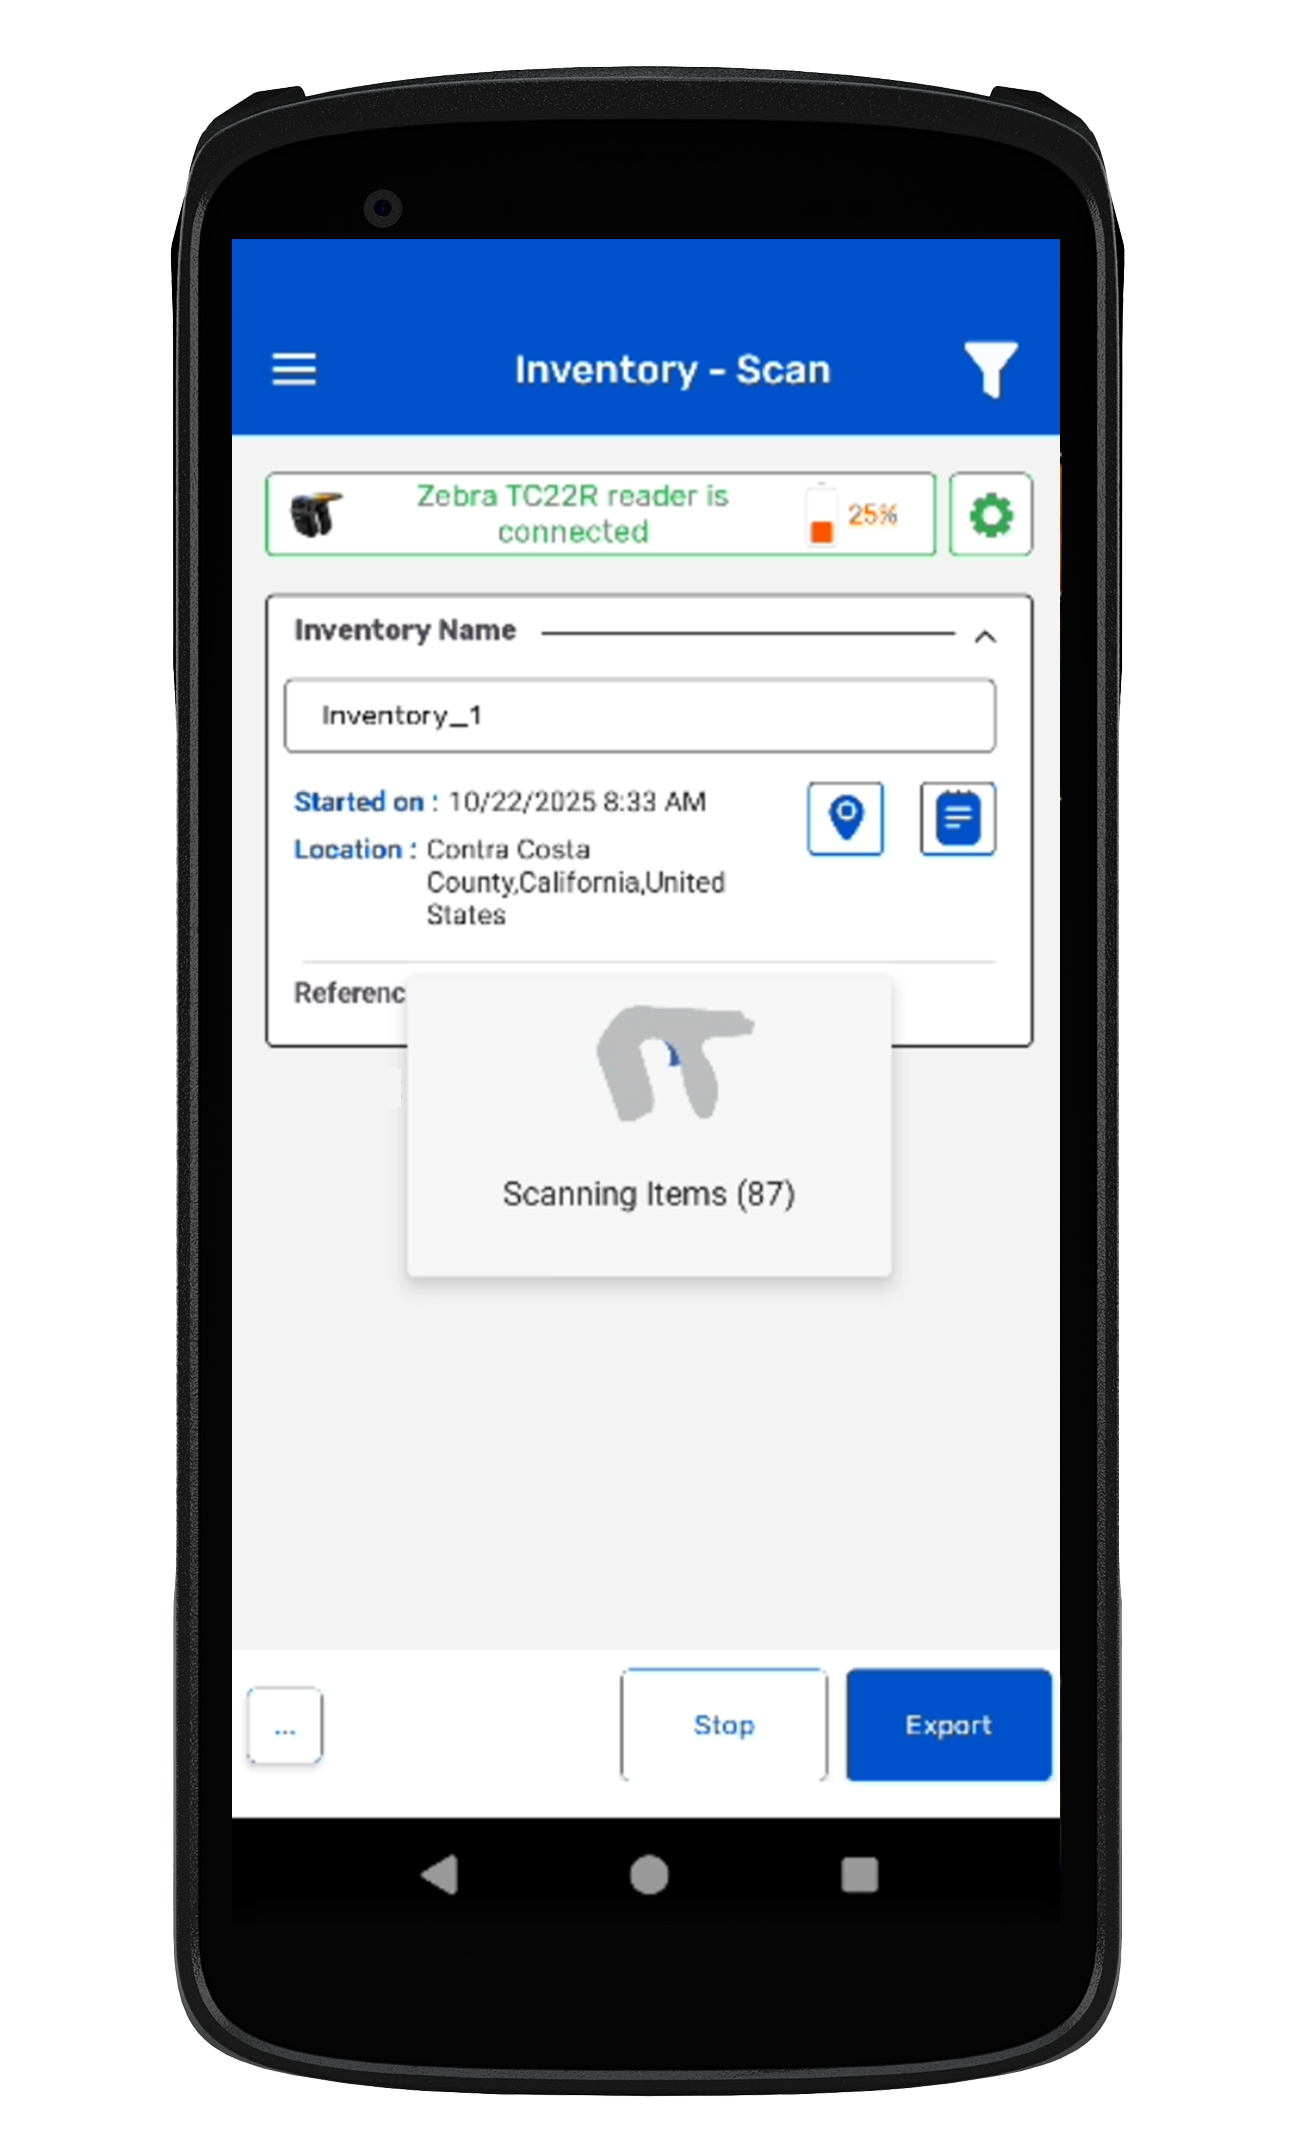
4. The reader is in polling state and reading the tags. The same can be seen in the application window. Refer to the image below:0.8.
5. Once you press the “Stop” button (on the right bottom of the application); reader will stop reading the tags.
6. As a result, the read tags will populate on the application window, as shown in the image below. Fig : 0.9.