This article covers the step-by-step process to ASCII Conversion the tag in the TagMatiks Wedge Application in Android.
• RFID reader should be connected with the Android device.
Please follow the below mentioned steps to ASCII Conversion the tag in TagMatiks Wedge Application.
1. Open the TagMatiks Wedge application and log into it.
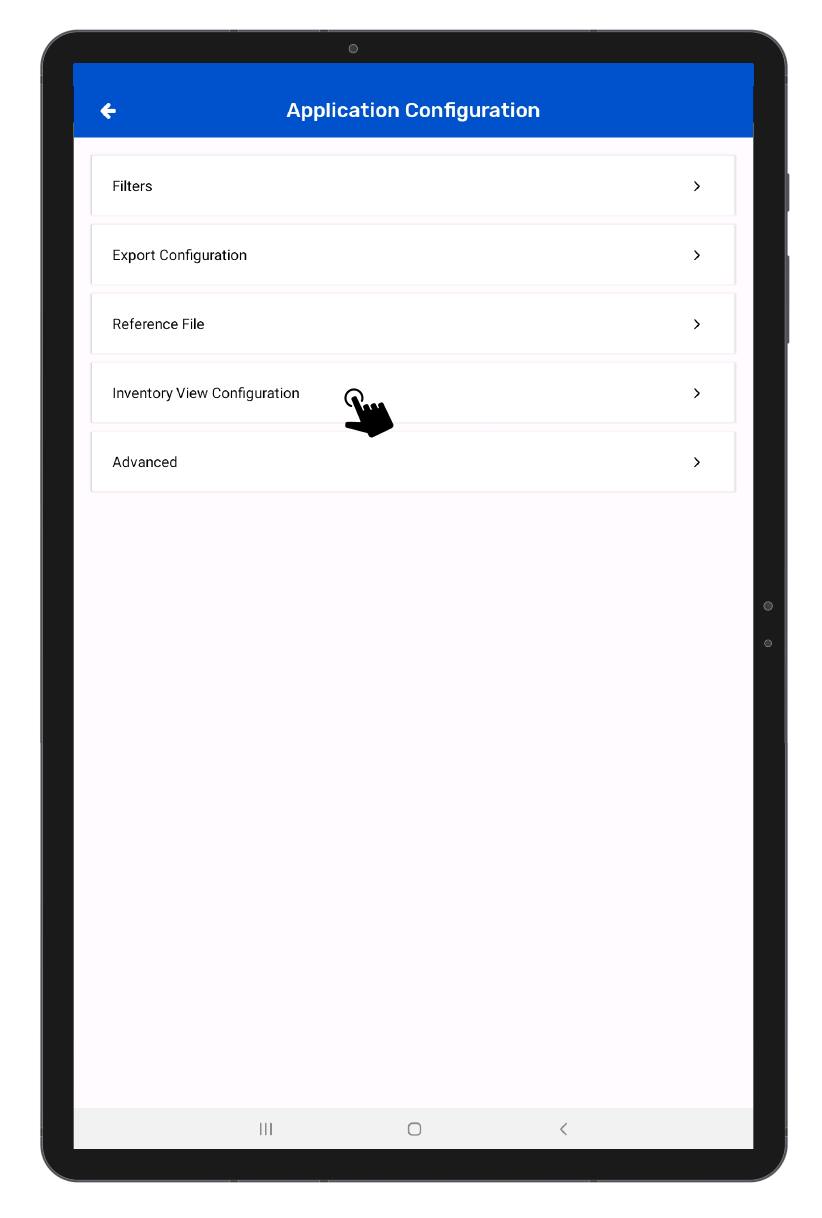
2. Click on Application Configuration option from the home page of Application. As shown in Fig 0.1.
3. Click on the Advanced option. As shown in Fig 0.2.
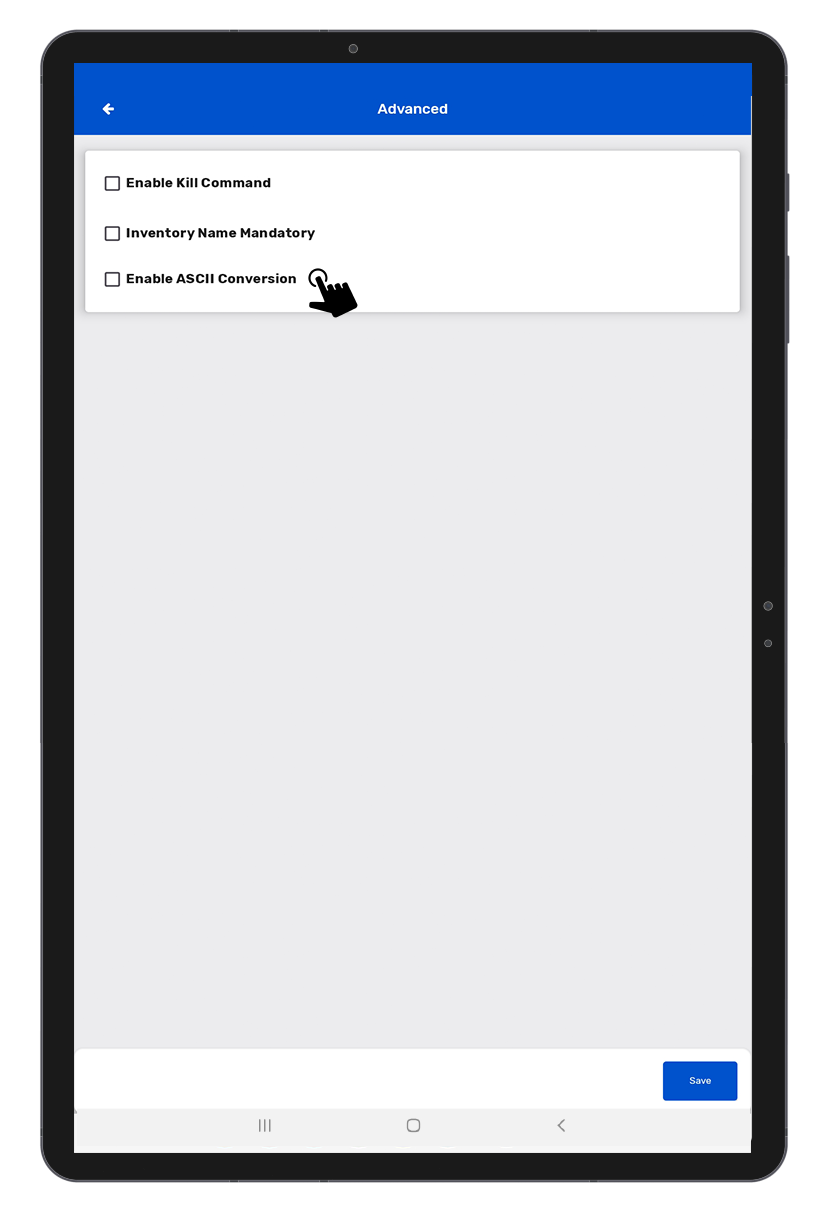
4. Click on the “Enable ASCII Conversion” option. As shown in Fig 0.3.
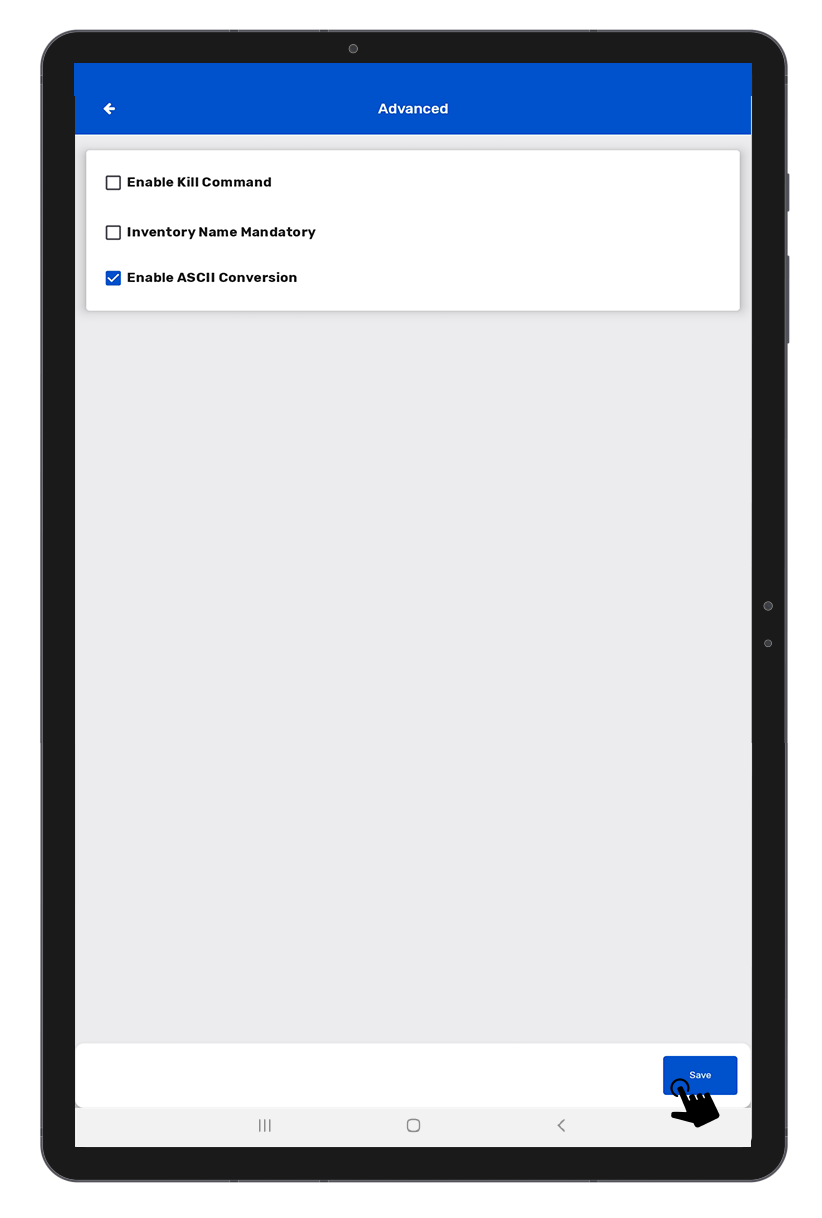
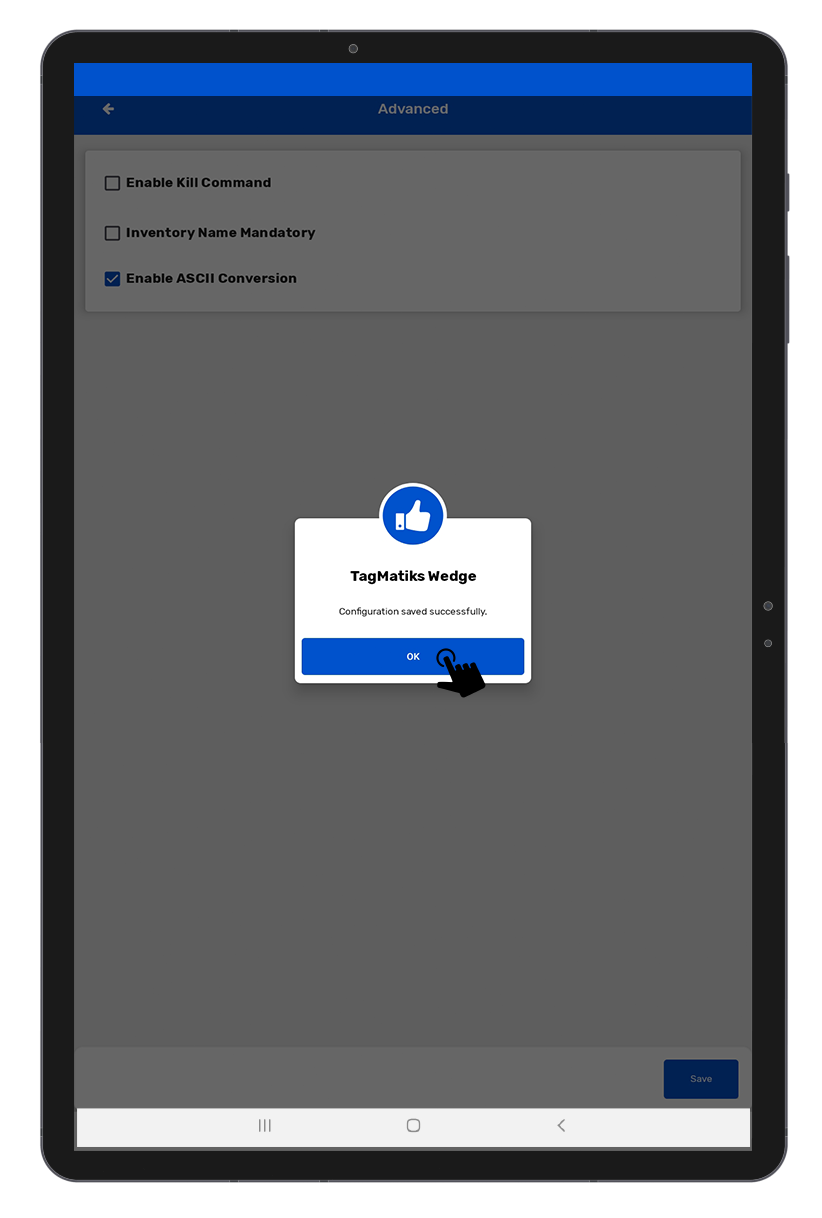
5. After enabling the ASCII conversion option , Click on Save button. As shown in Fig 0.4.
6. Click on the Application Configuration option from the home page of Application.
7. Click on the Inventory view Configuration option. As shown in Fig 0.6.
8. Click on the field , and select (the EPC ascii) .As shown in Fig 0.8.
9. After Selecting EPC ascii option for the field , then Click on Save option. As shown in Fig 0.9.
10. Click on the Inventory option from the home page of the application. As shown in Fig 1.0.
11. Click on the (+) icon button to start the new inventory. As shown in Fig 1.1.
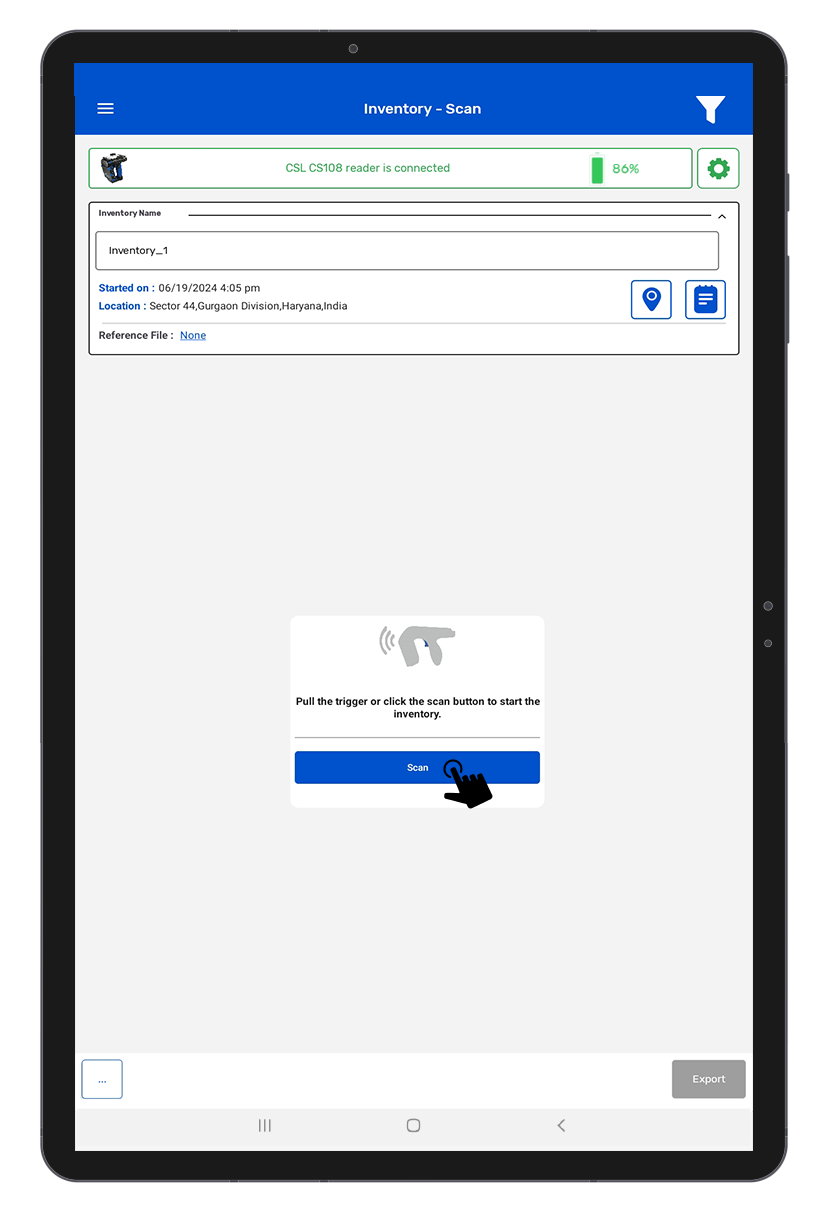
12. Click on the Scan soft button to start scanning RFID Tags. As shown in Fig 1.2.
13. Now, Reader Scanning RFID Tags. As shown in Fig 1.3.
14. After clicking on the Stop button, you will see the results of Scanned RFID Tags. As shown in Fig 1.4.
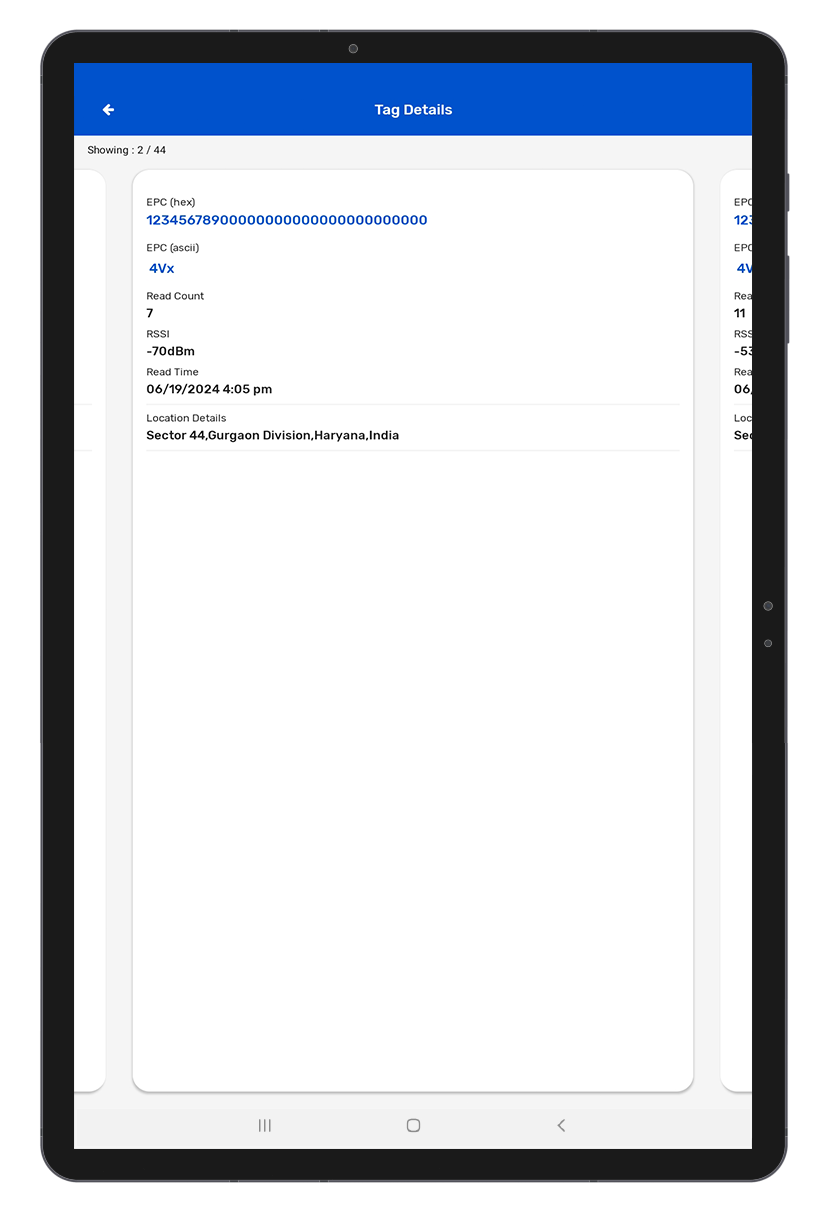
15. Click on RFID Tag to see the Tag Details .In Tag Details page, you can see the ASCII details. As shown in Fig 1.5.