This section contains setup information for using ATID X6 Reader with the TagMatiks Wedge Application
This document is divided into multiple sections as:
I. Turn ON the ATID reader
1. Turn on the Reader by pressing the Power button until the buzzer sounds
2. LED communicated mode Turns ON after the Switch on the Reader
II. Turn OFF the ATID reader
1. While Power is On, Press the Power button upto the buzzer sound.
2. If the communication mode LED turns off after the buzzer sounds, then the reader is powered off.
ATID reader is automatically paired or connected with the TagMatiks Application, after when we open or login the TagMatiks Wedge Application.
Note: If the Reader is already connected with the other Application, We need to Close or Kill that Application.
We can find the Reader is Connected with our application by using the below steps
Home Page
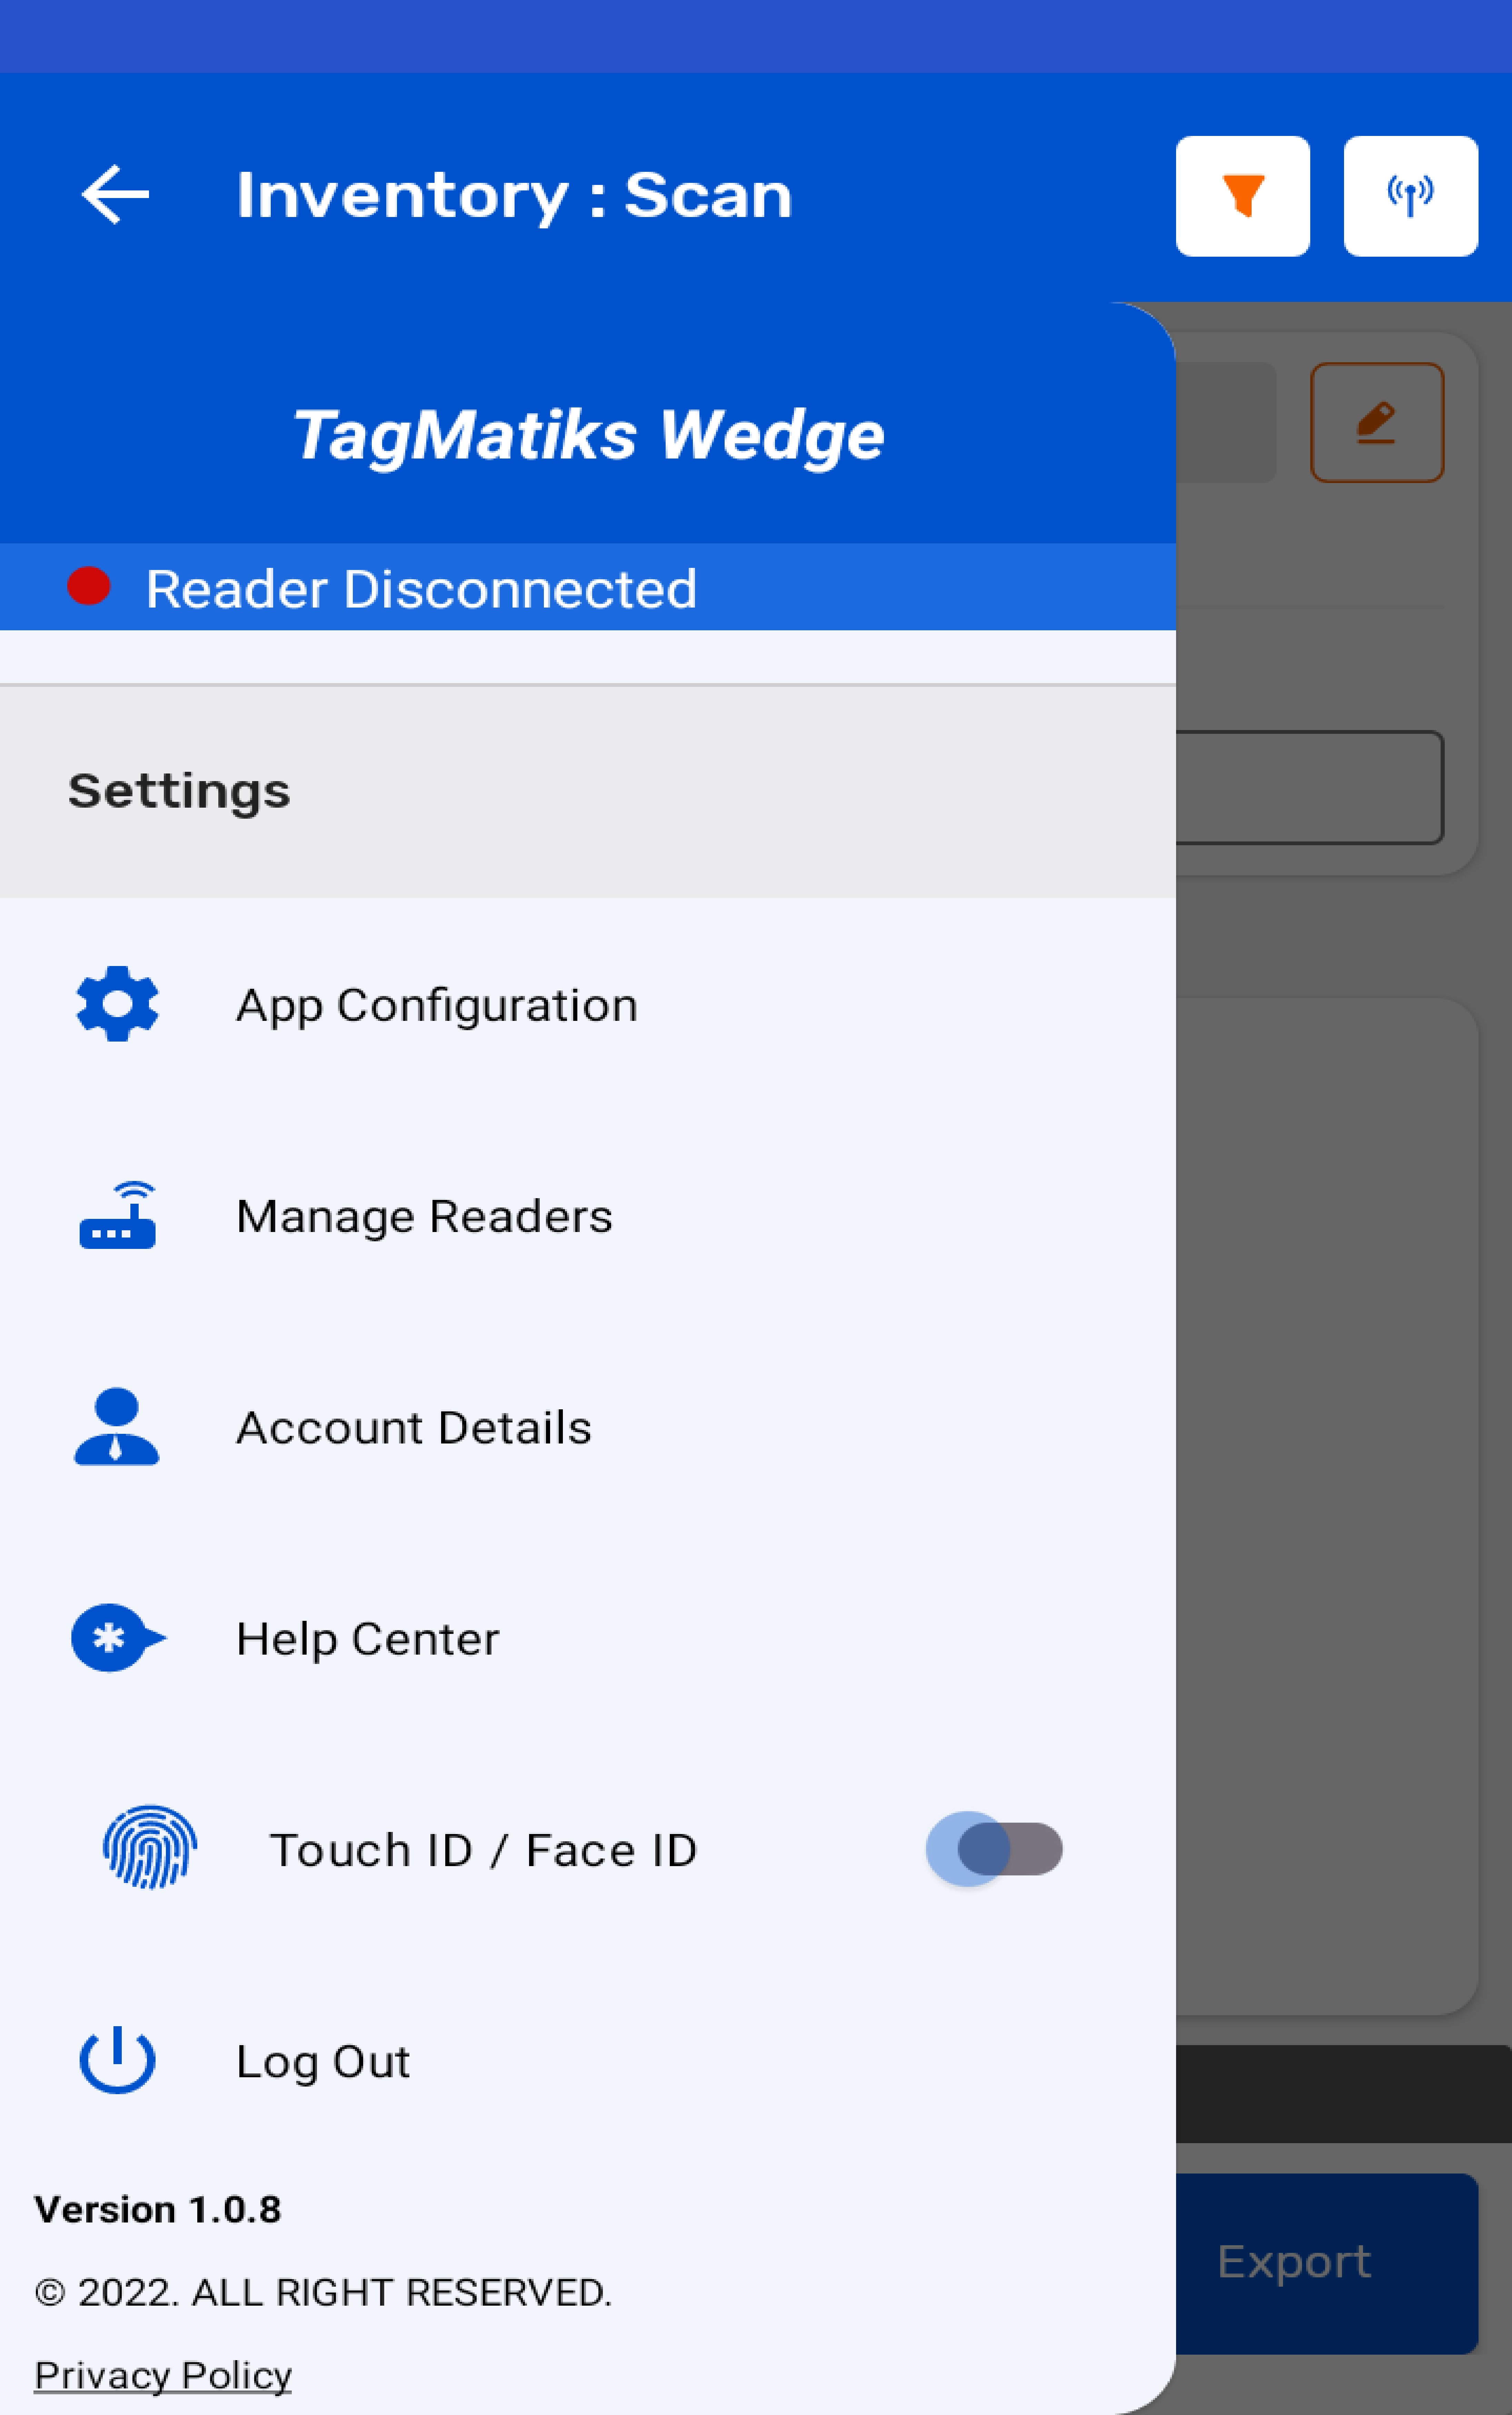
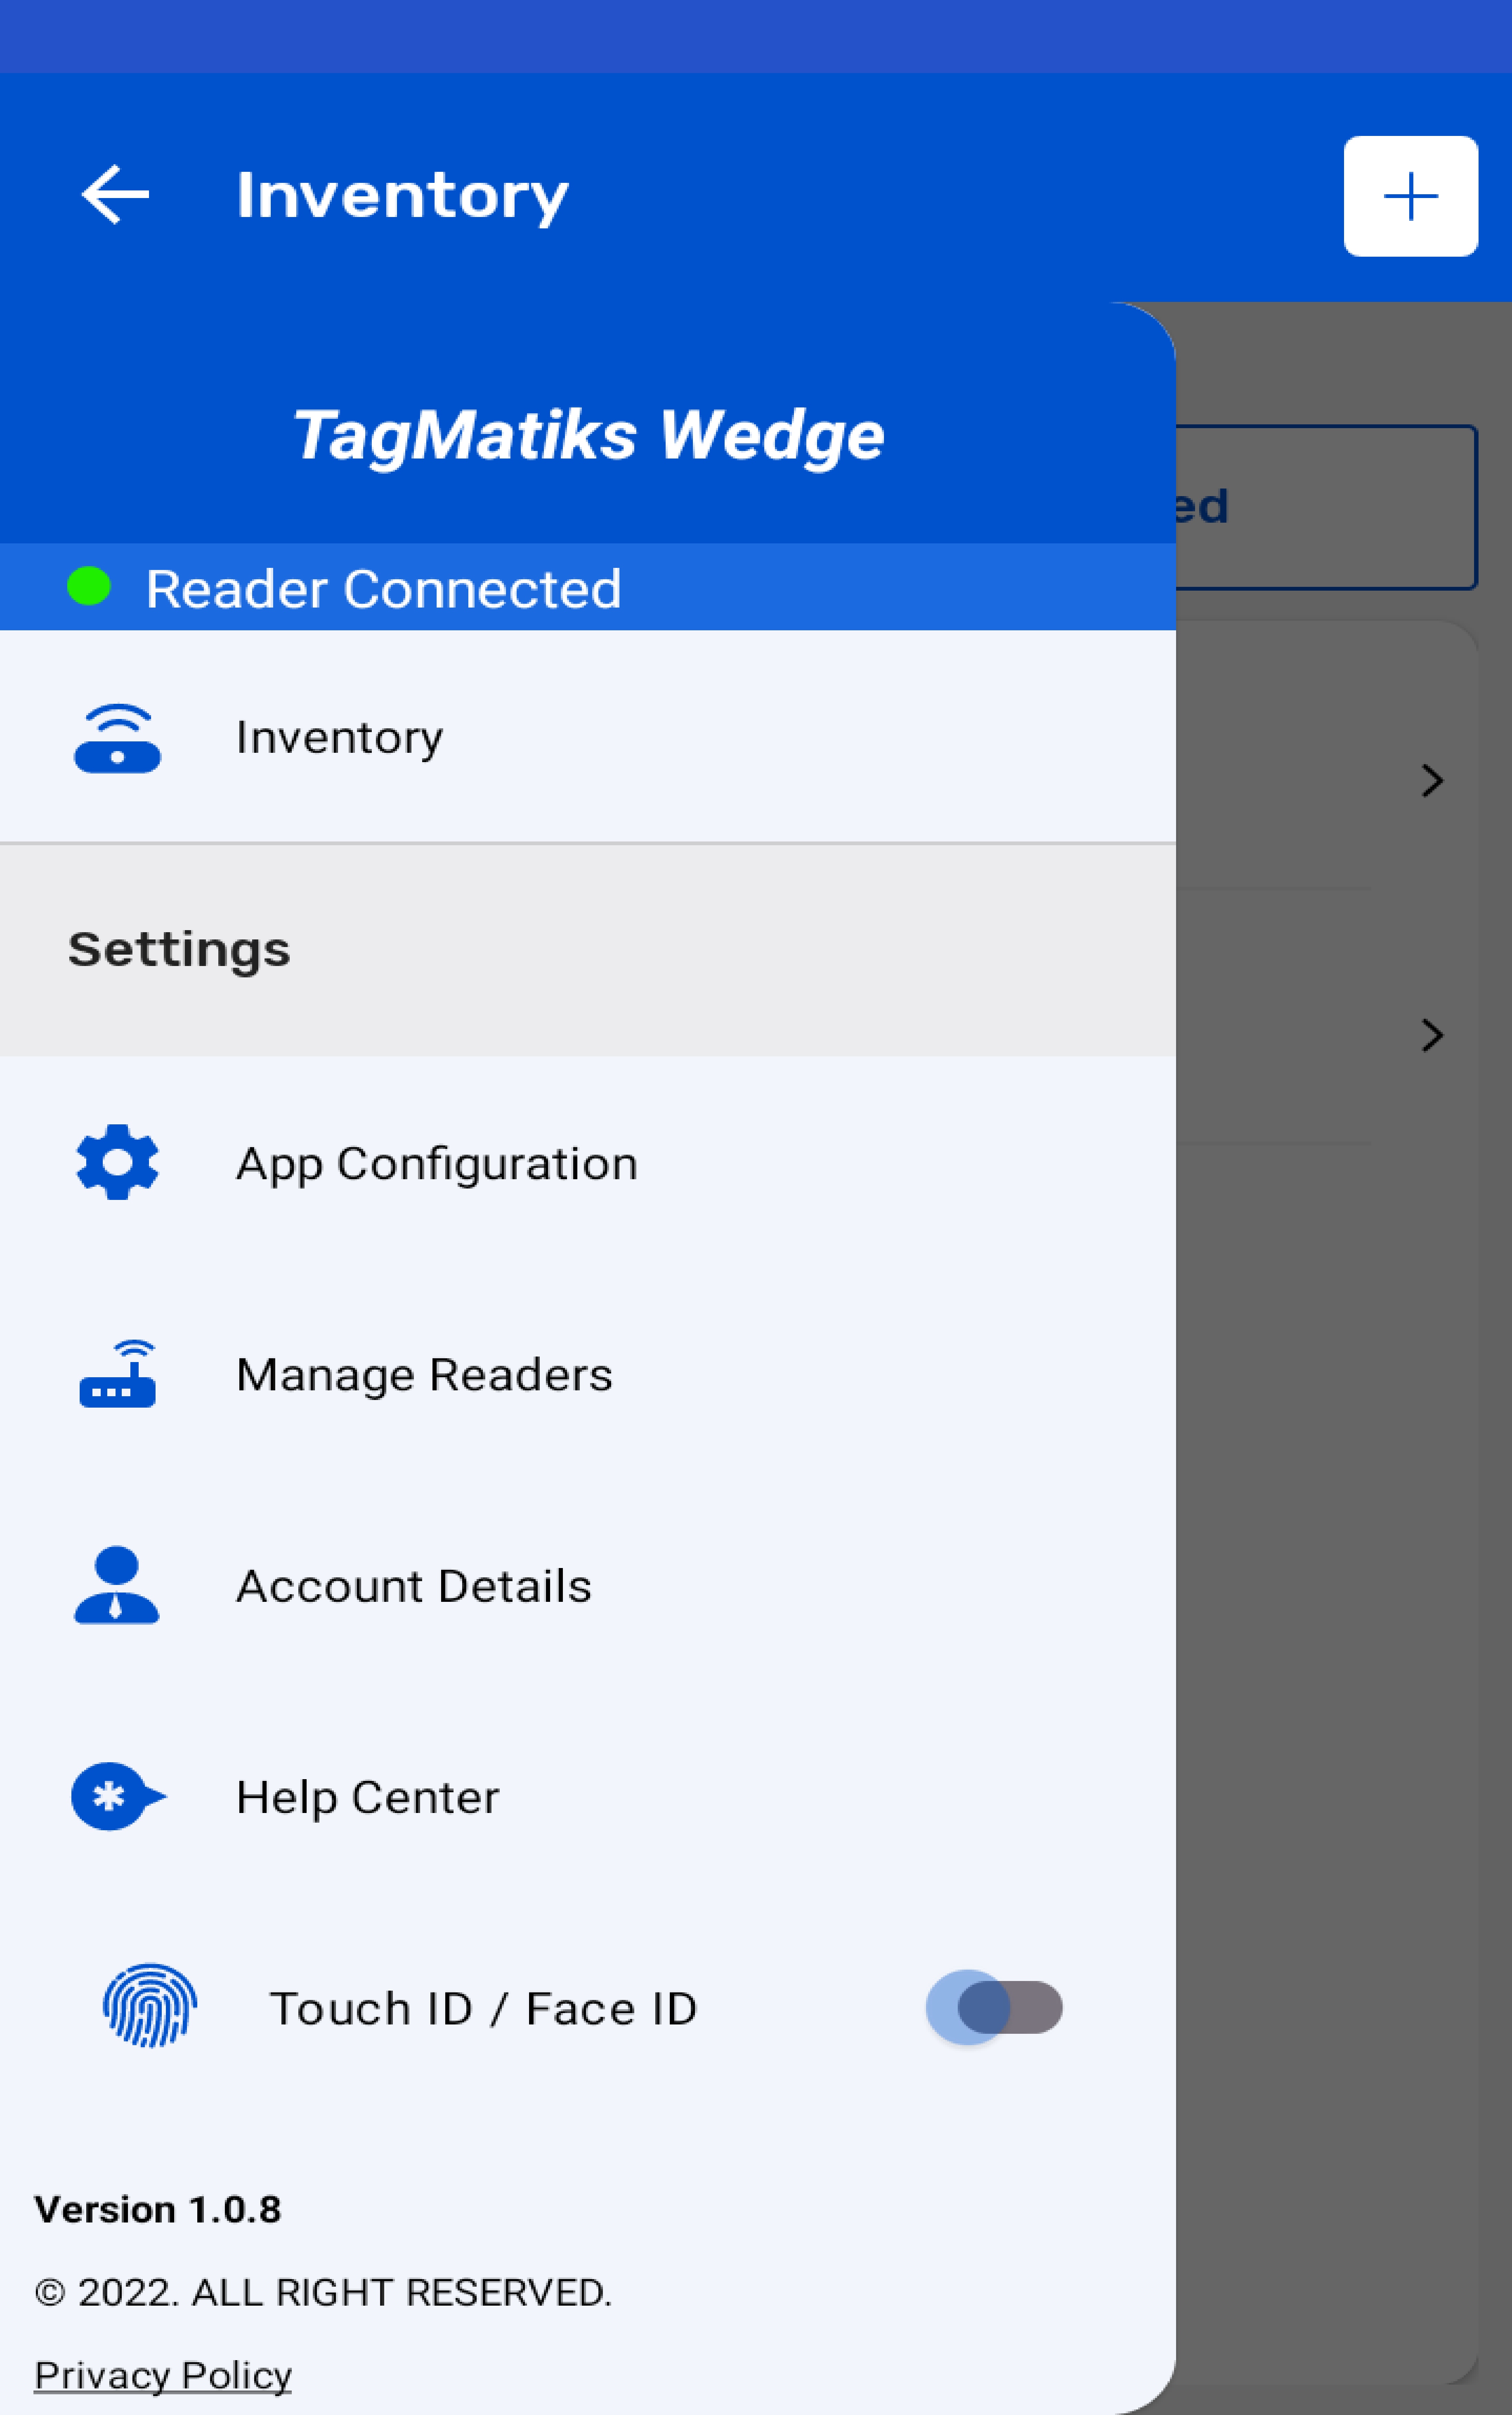
After Login the TagMatiks Wedge Application, On the top left of the application we can check the reader’s connection status "Reader Connected" as shown in the below image.
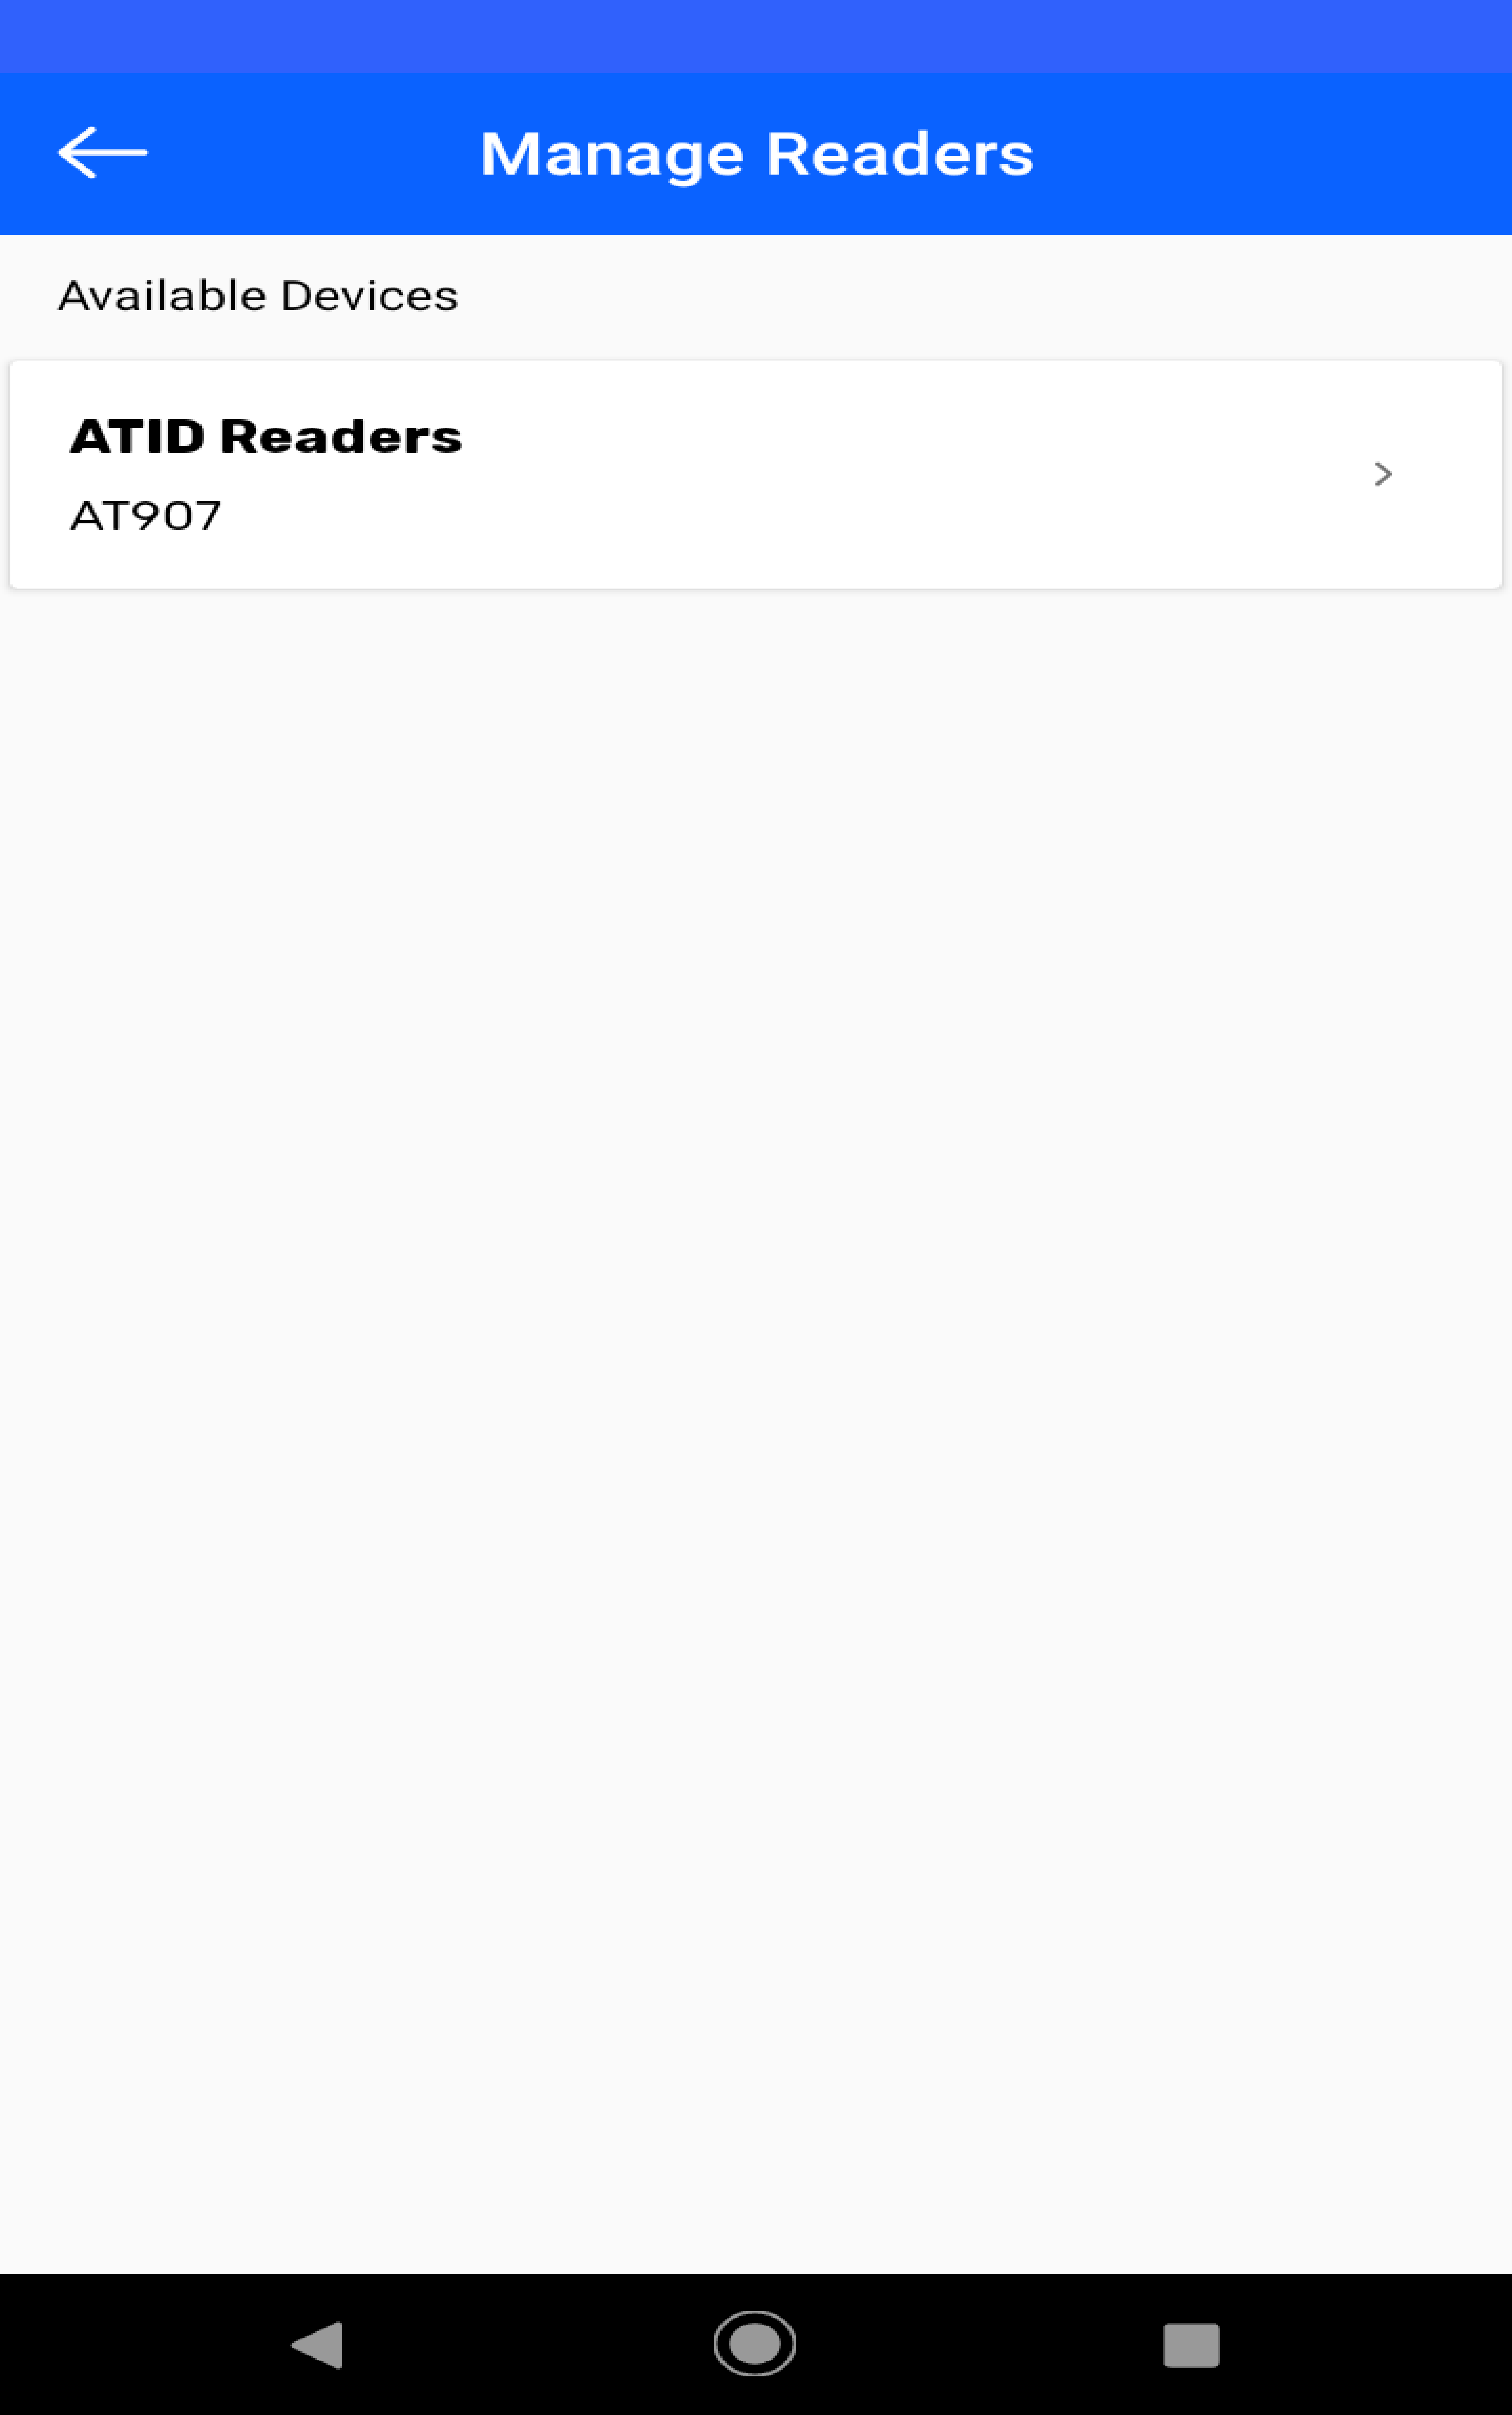
Manage Reader
1. After login the Application, Click Manage Reader Menu from the left hand side of the Application.
2. Connected ATID X6 Reader with the application as shown under the Available Devices.
3. Click the connected ATID Reader name to adjust settings of the Reader.
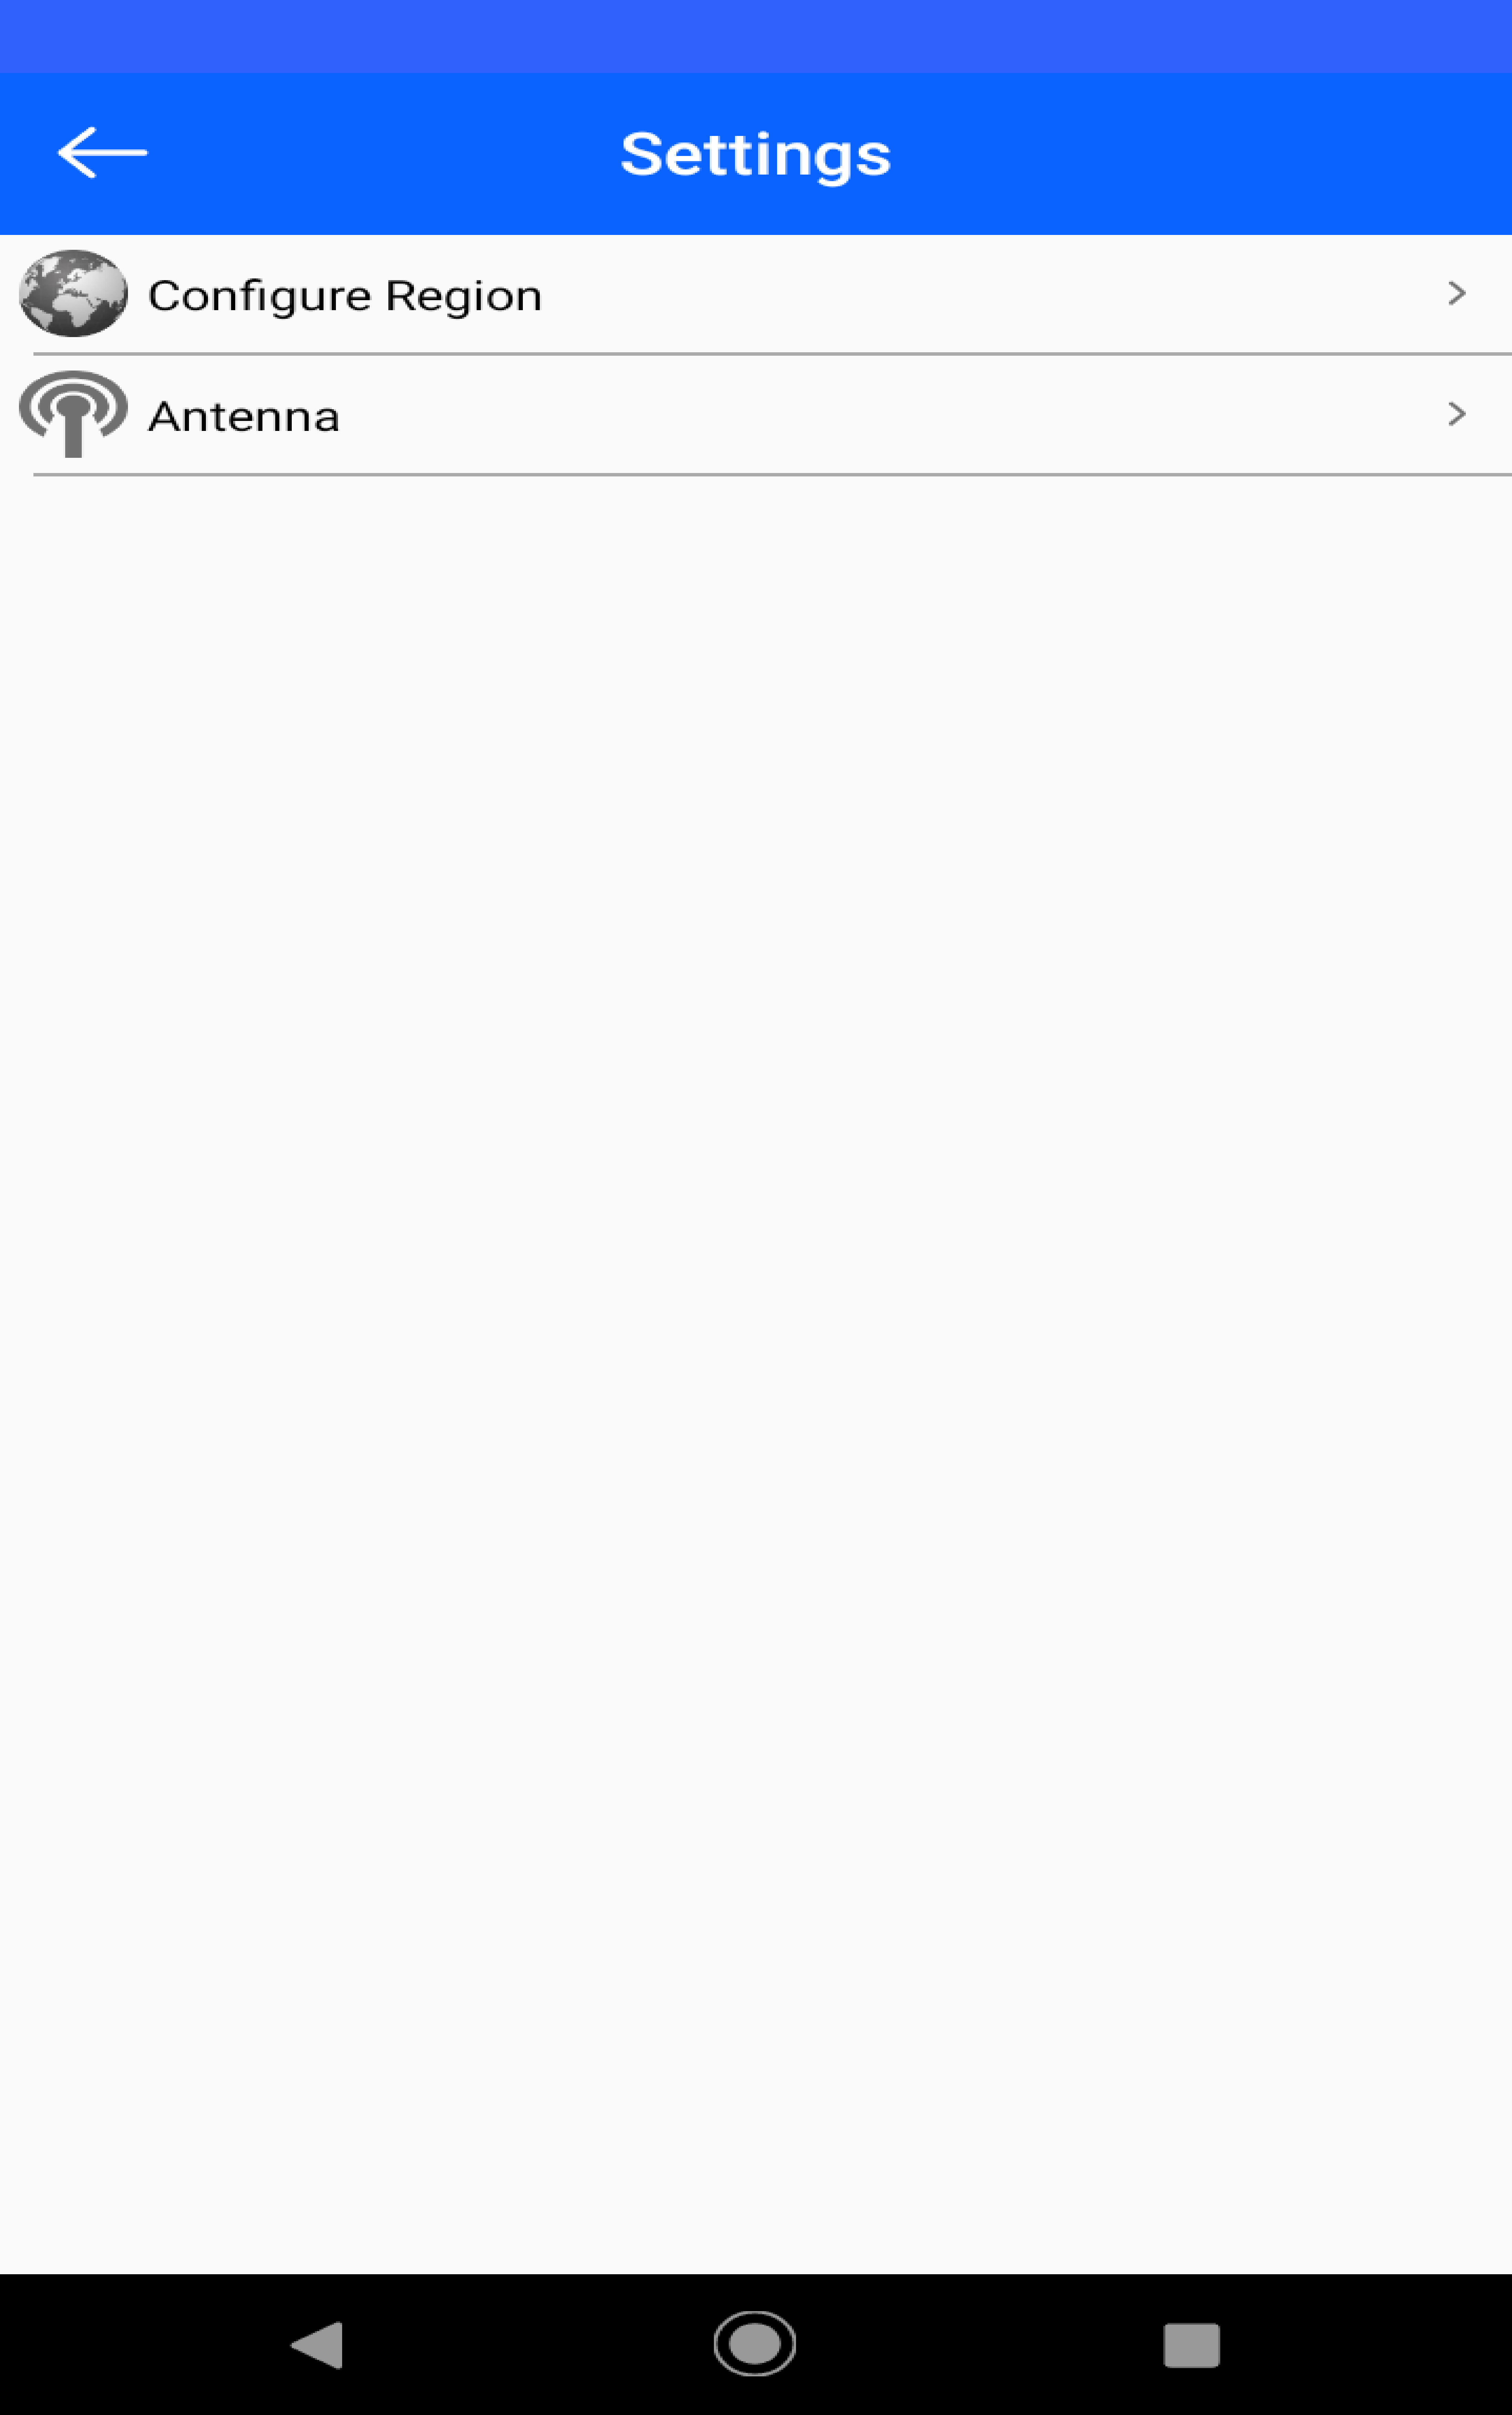
The setting has the following Menu option
1. To read the RFID tags Using ATID X6 reader; press the “Inventory” button - on the left-hand side of TagMatiks Wedge application.
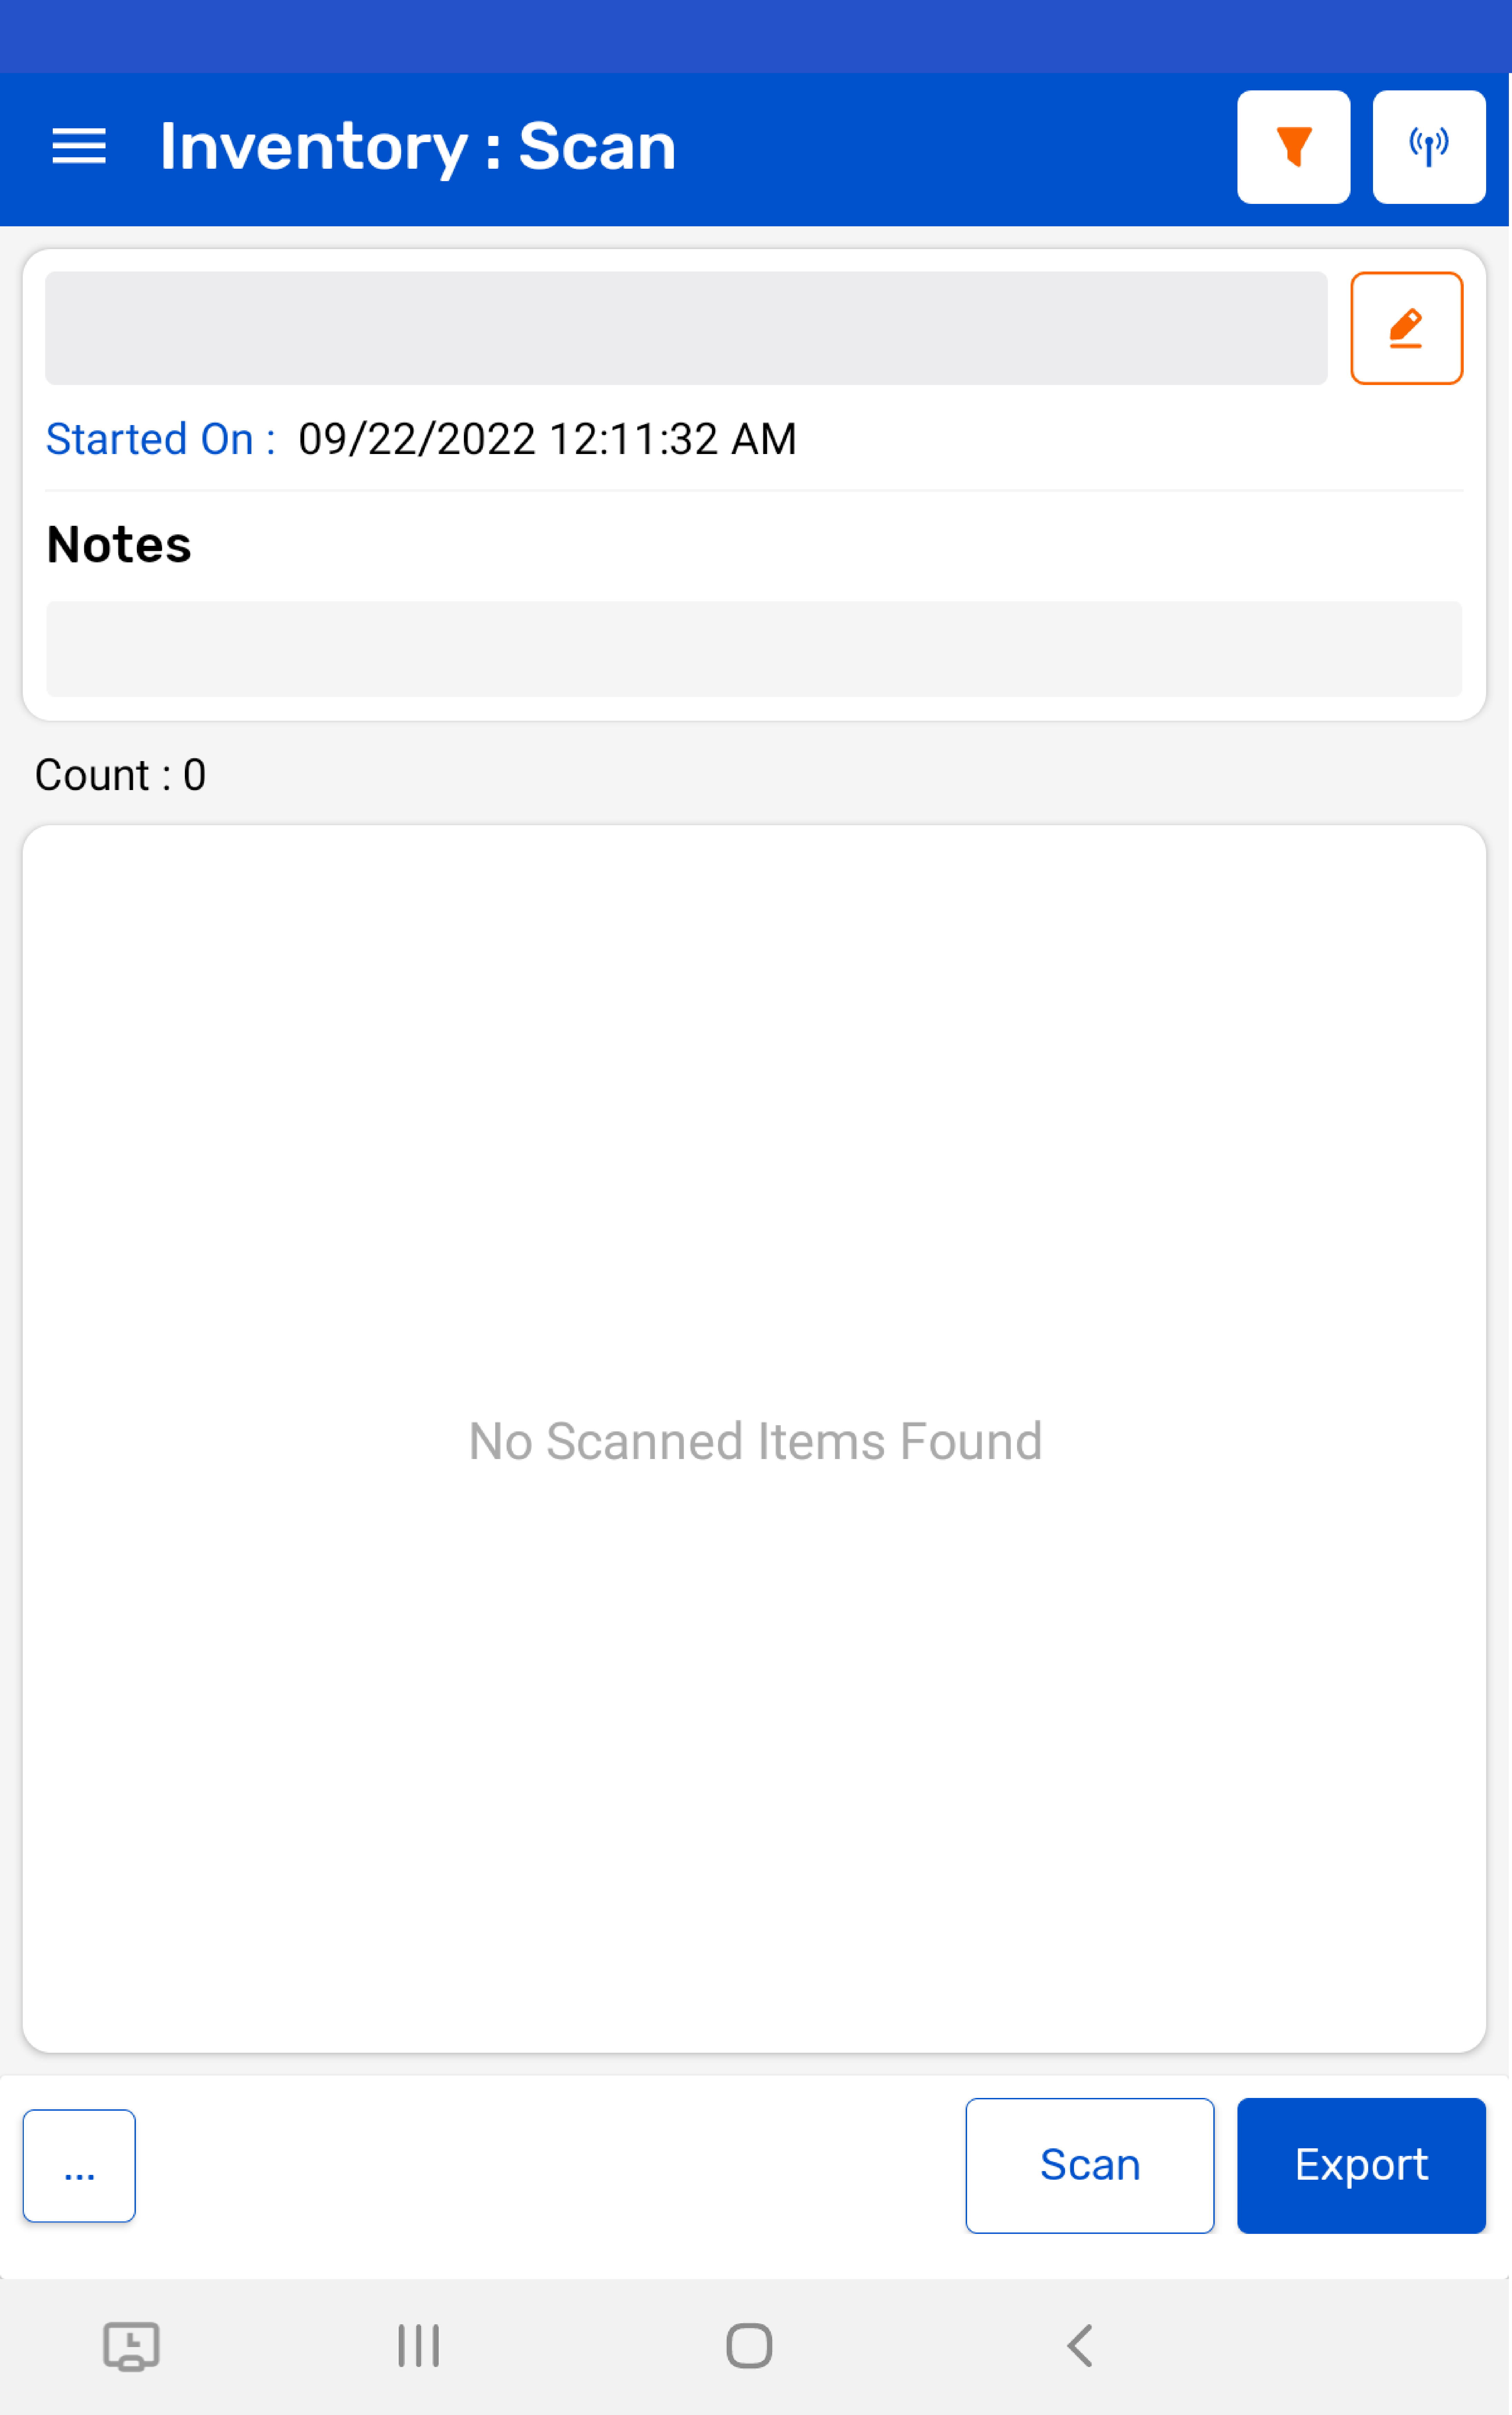
2. Then a new window will open, named: "Inventory."
3. Create a new Inventory transaction, by pressing the "+" button on the right bottom of the application.
4. Press the "Scan" button (on the right bottom of the application) for reading the RFID tags.
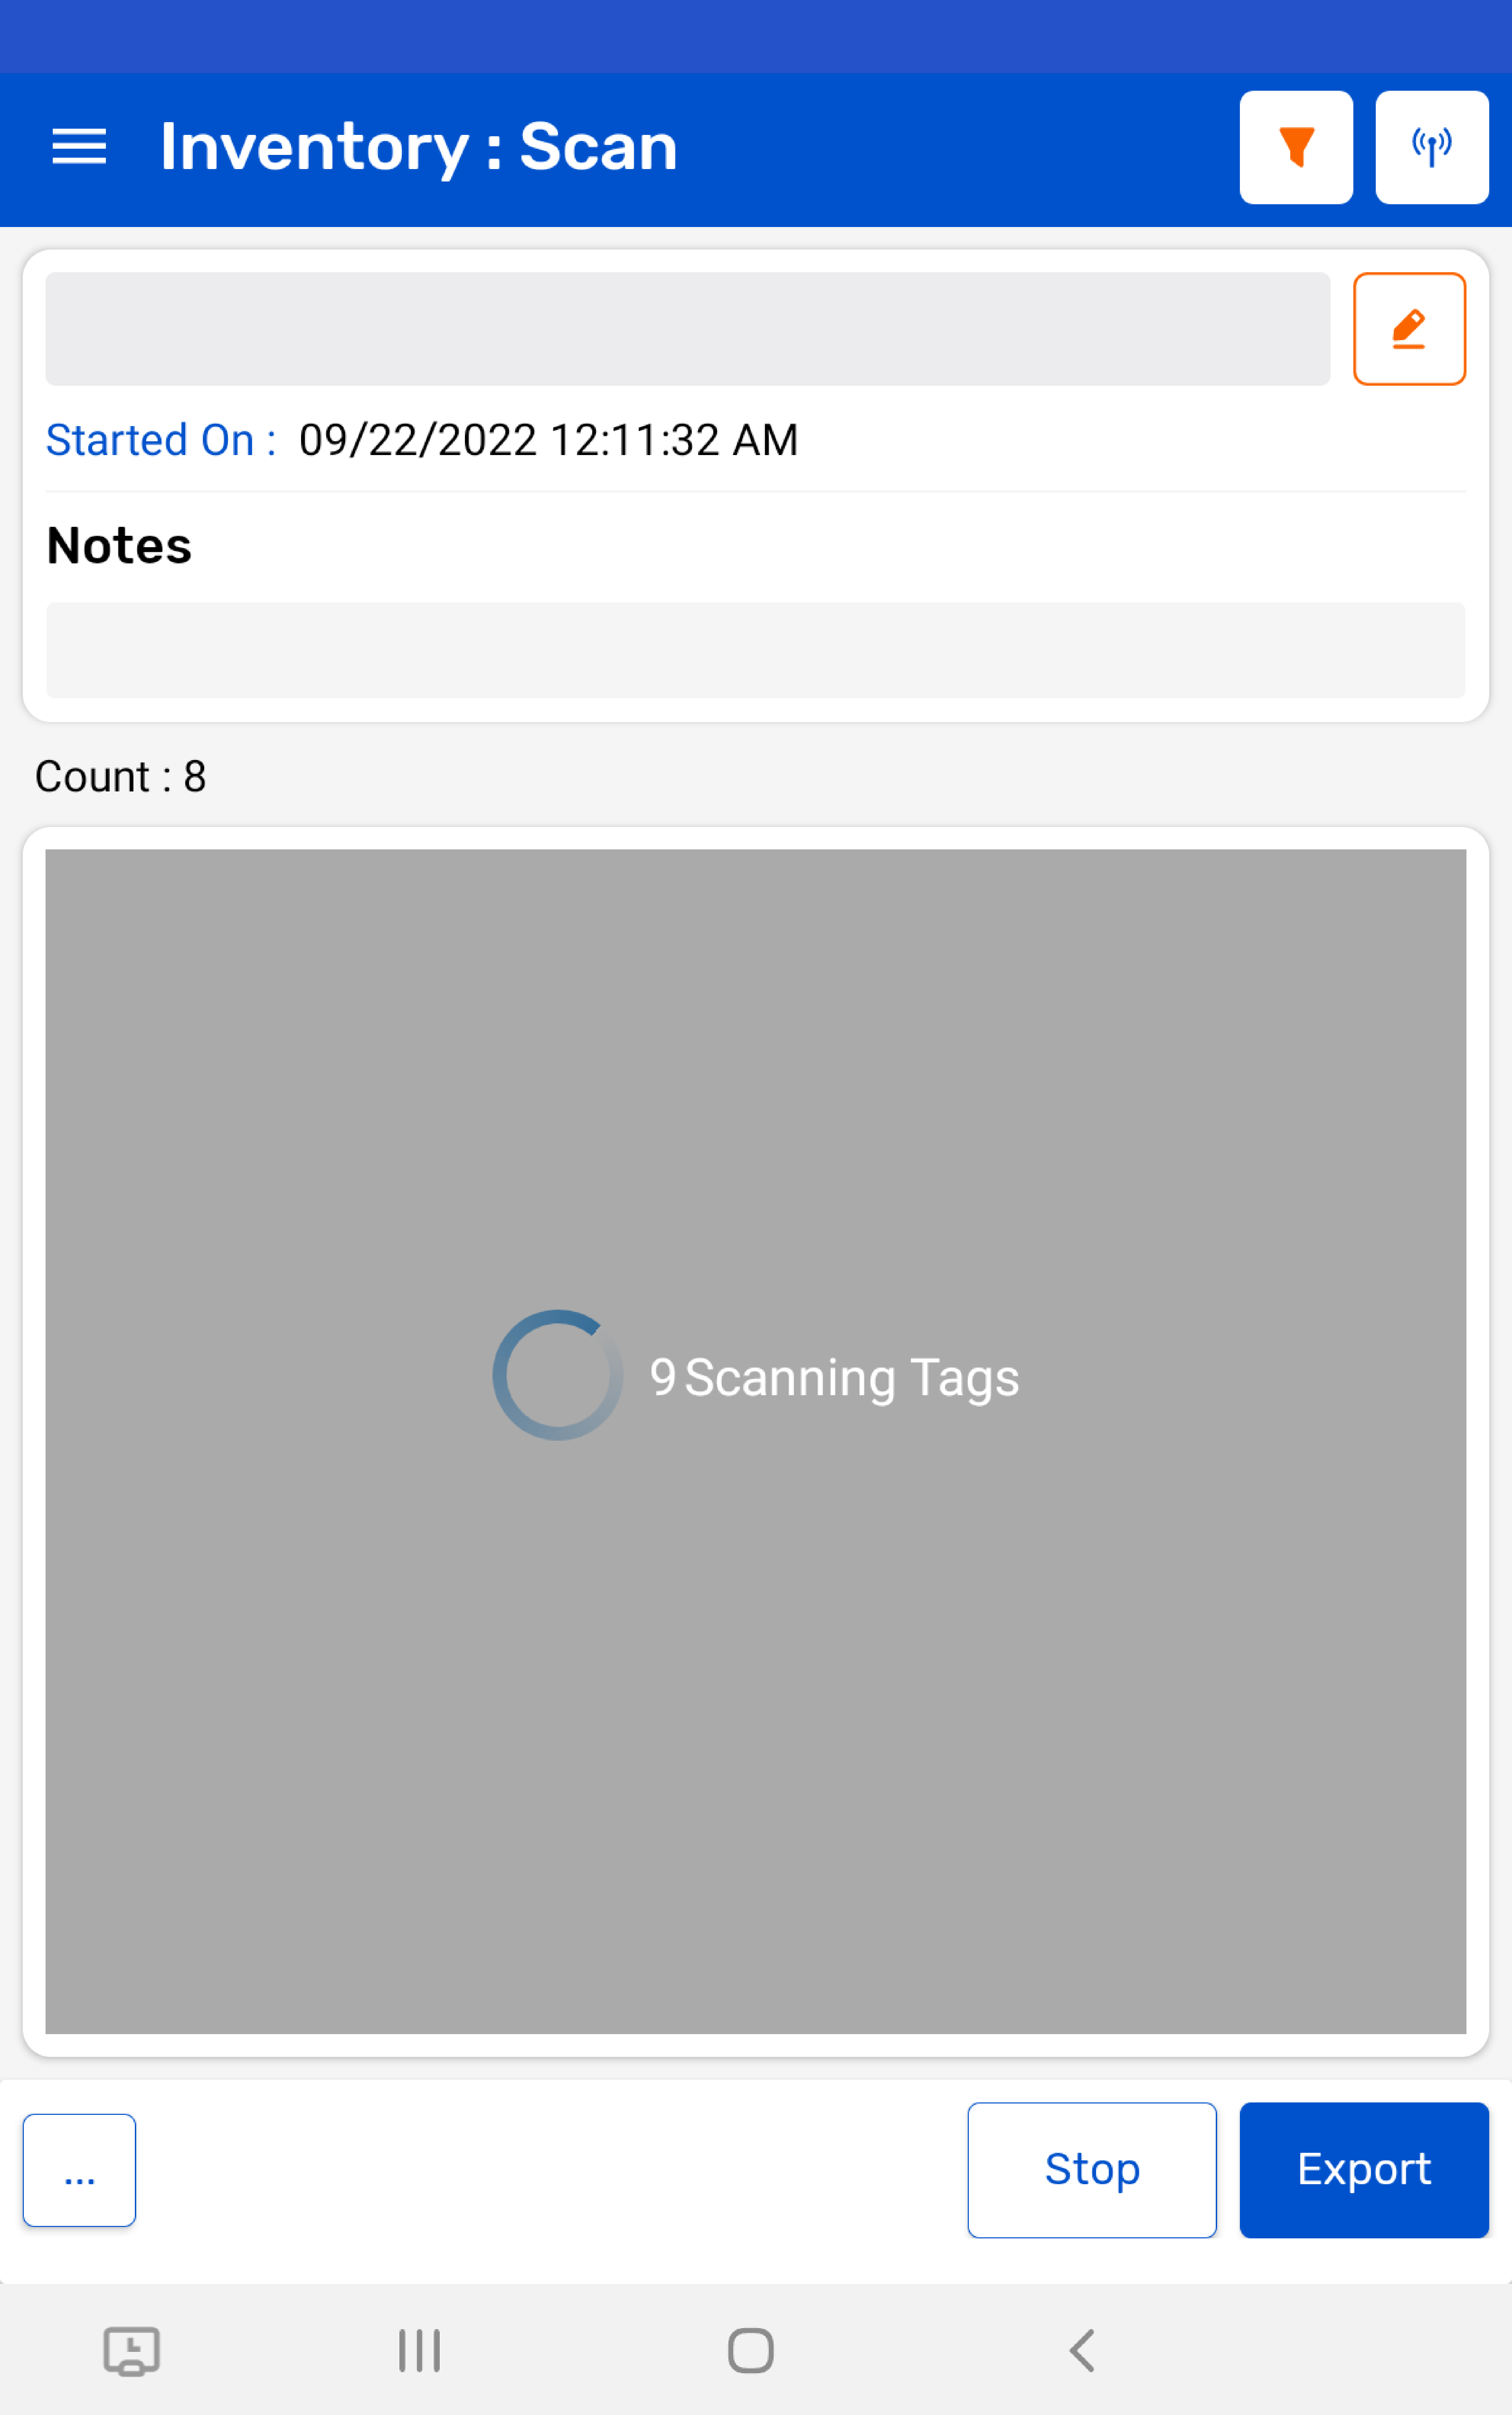
5. Once the "Scan" button is pressed; then the "RFID" LED starts flashing.
6. This means the ATID R6 Reader is in polling state and reading the tags. Same can be seen in the application window. Refer below image:
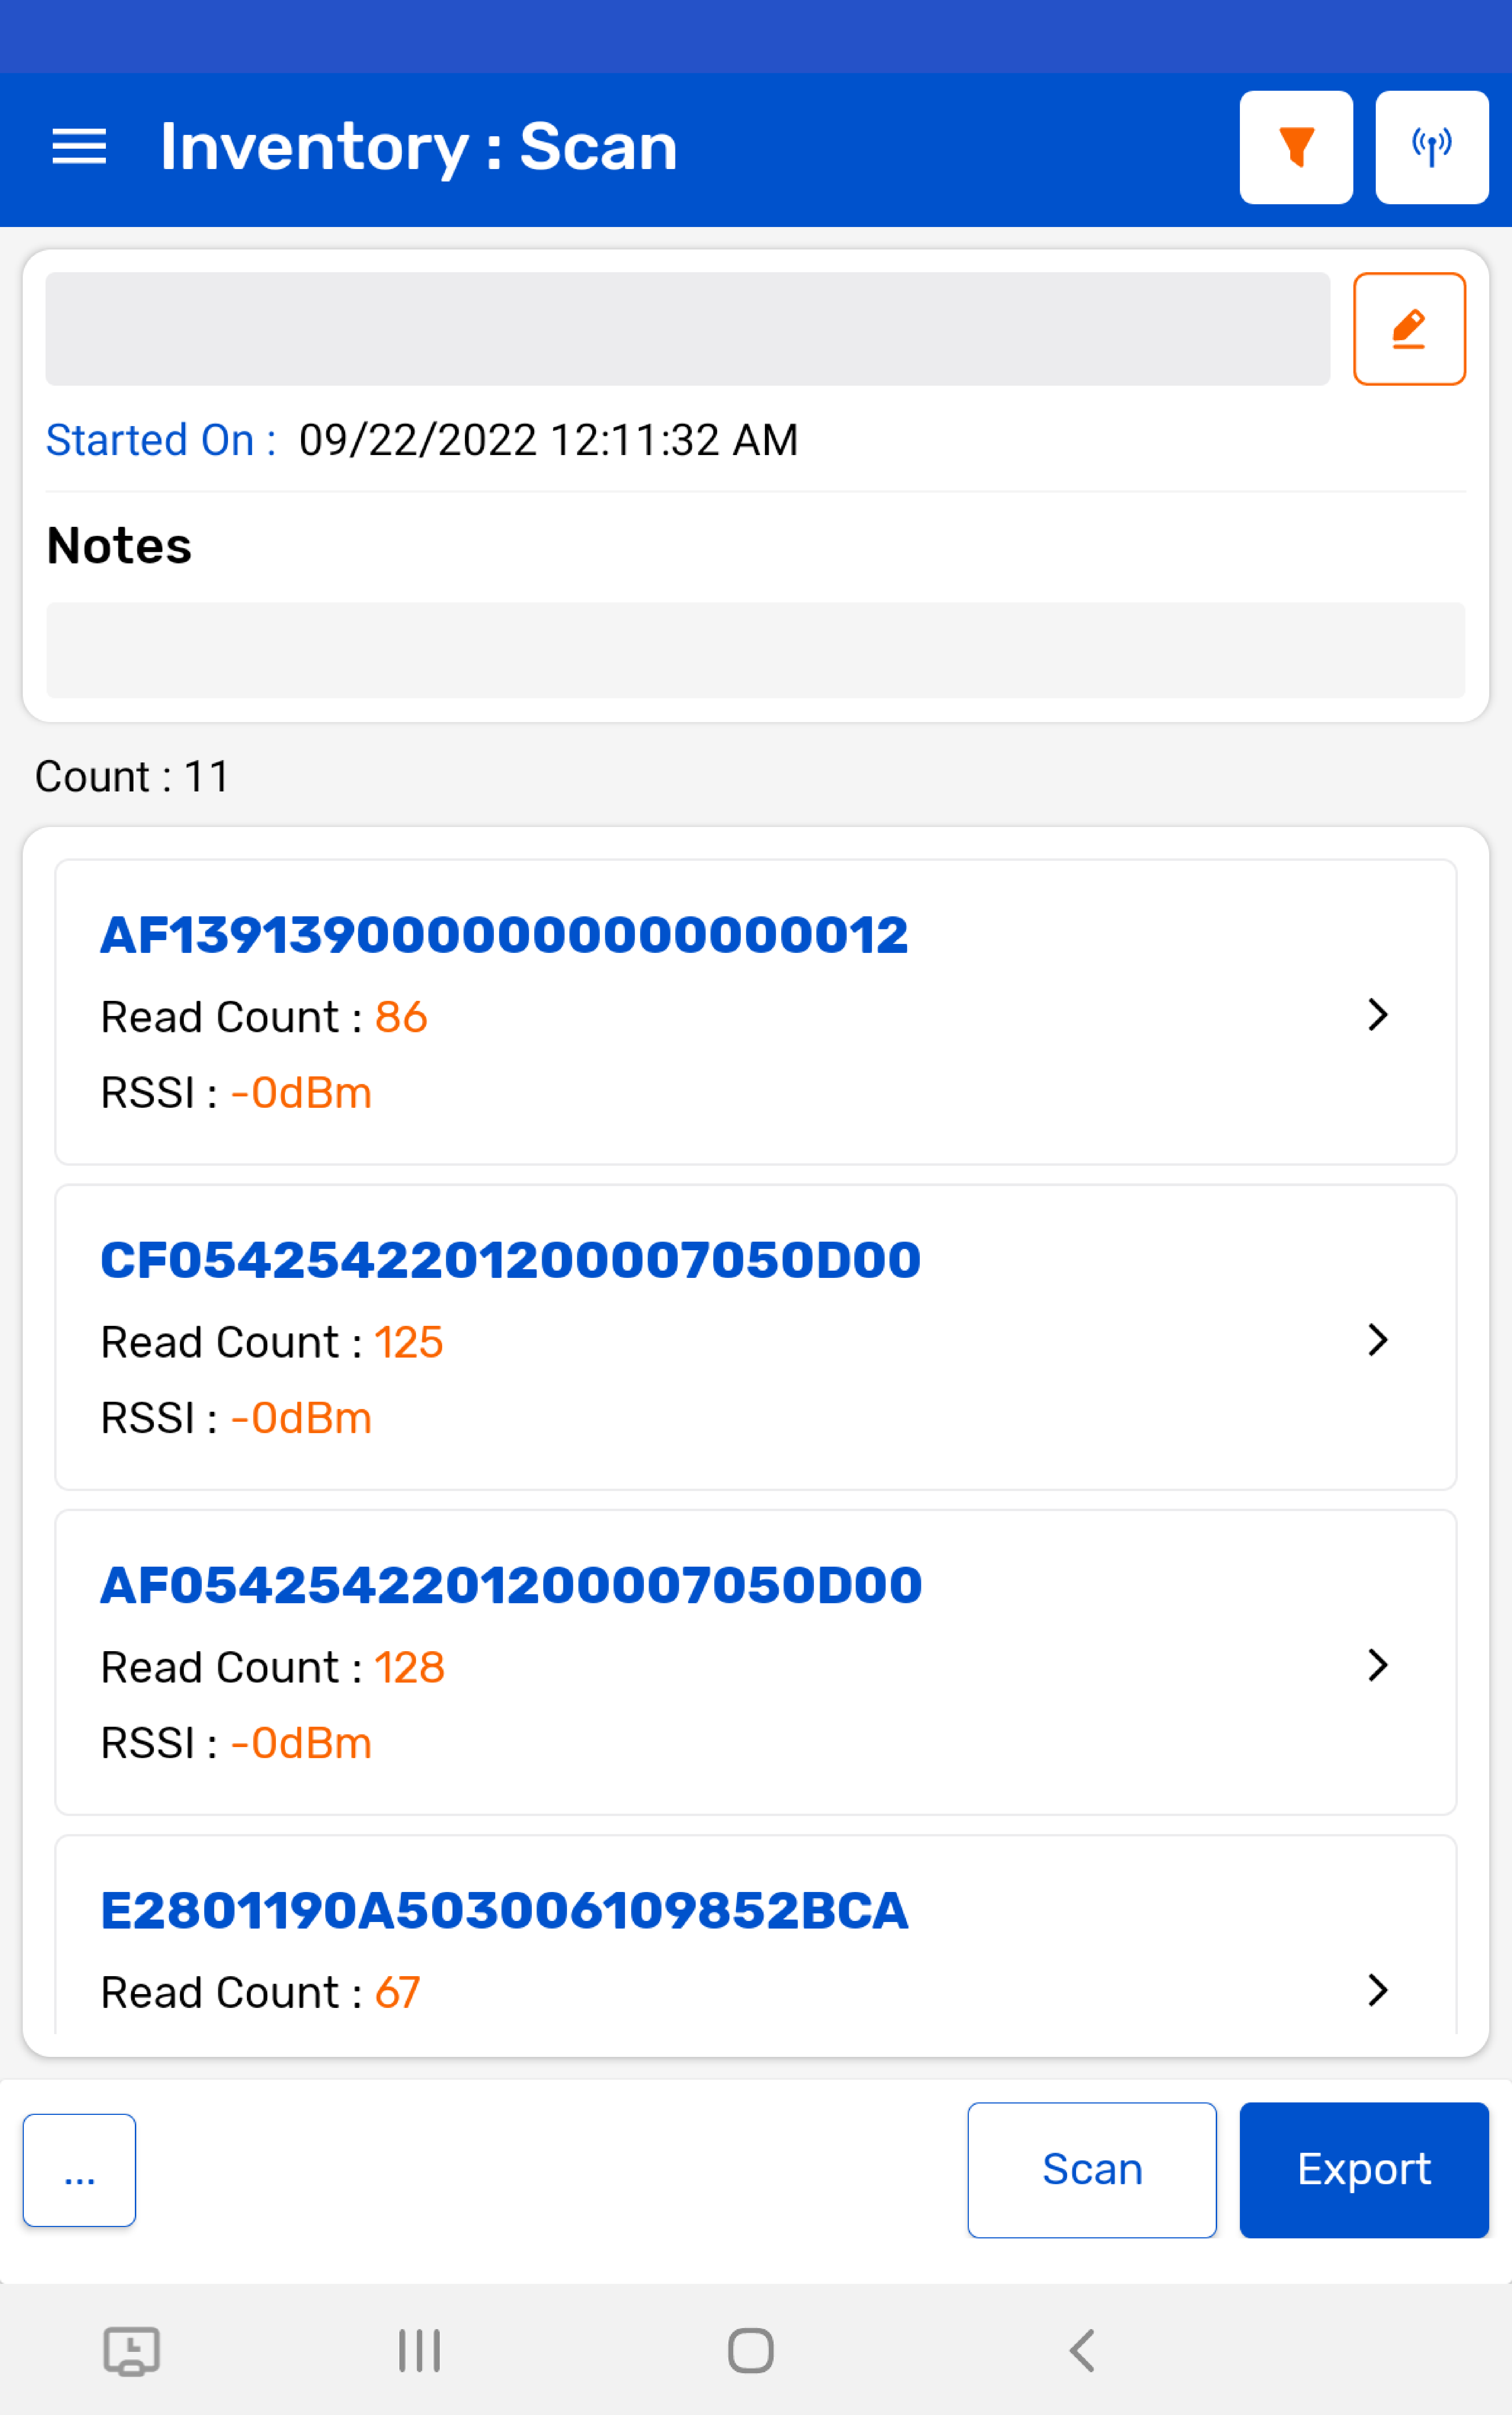
7. Once you press "Stop" button (on the right bottom of the application); reader will stop reading the tags.
8. As a result, the read tags will populate on the application window, as shown in image below.
Note: The reading start / stop can also be controlled with the "Trigger" button of the ATID X6 reader.